Facebook Integration
1. Facebook Integration Overview
The Facebook integration allows customer service to synchronize historical messages and comments on Facebook Messenger to the SaleSmartly platform, allowing businesses to directly manage and operate their own Facebook pages in real time through the platform and provide unified multi-channel communication services with customers.
2. Step-by-Step Guide
2.1. Authorization
First, you need to authorize your Facebook account to the platform. In Integration-Messenager, click Authorize FB Account.

2.2. Connect to Facebook Account
After logging in to your Facebook account, if your account has been linked to a public page in advance, you can click Continue as (your account name) > Check the page you want to bind > click Continue > Select the actions that SaleSmartly can perform on the page > click Save > click Got it.
After authorization is completed, click OK to return to the SaleSmartly system.

2.3. Activate Your Account
After authorization and login, you can find your account in the Integration-Messenger&Comments-Facebook Homepage Account, enable Messenger and post comments, and you can start chatting.

You can also edit automations and choose which automations to associate with your Messenger homepage and comments. If you want to learn more about creating and using automations, you can jump to the How to Create and Use Automations documentation for reference.

3. Frequently Asked Questions
3.1. How to Sync Contacts and Messaging Threads
First, follow the steps to authorize your account > enable your account > click Sync Contacts on the right, the system will automatically sync your contact data and guide you to create a message conversation. For more information, please refer to the Sync Contacts and Create Conversation documents.
3.2. How to Invite Administrators to a Facebook Public Page
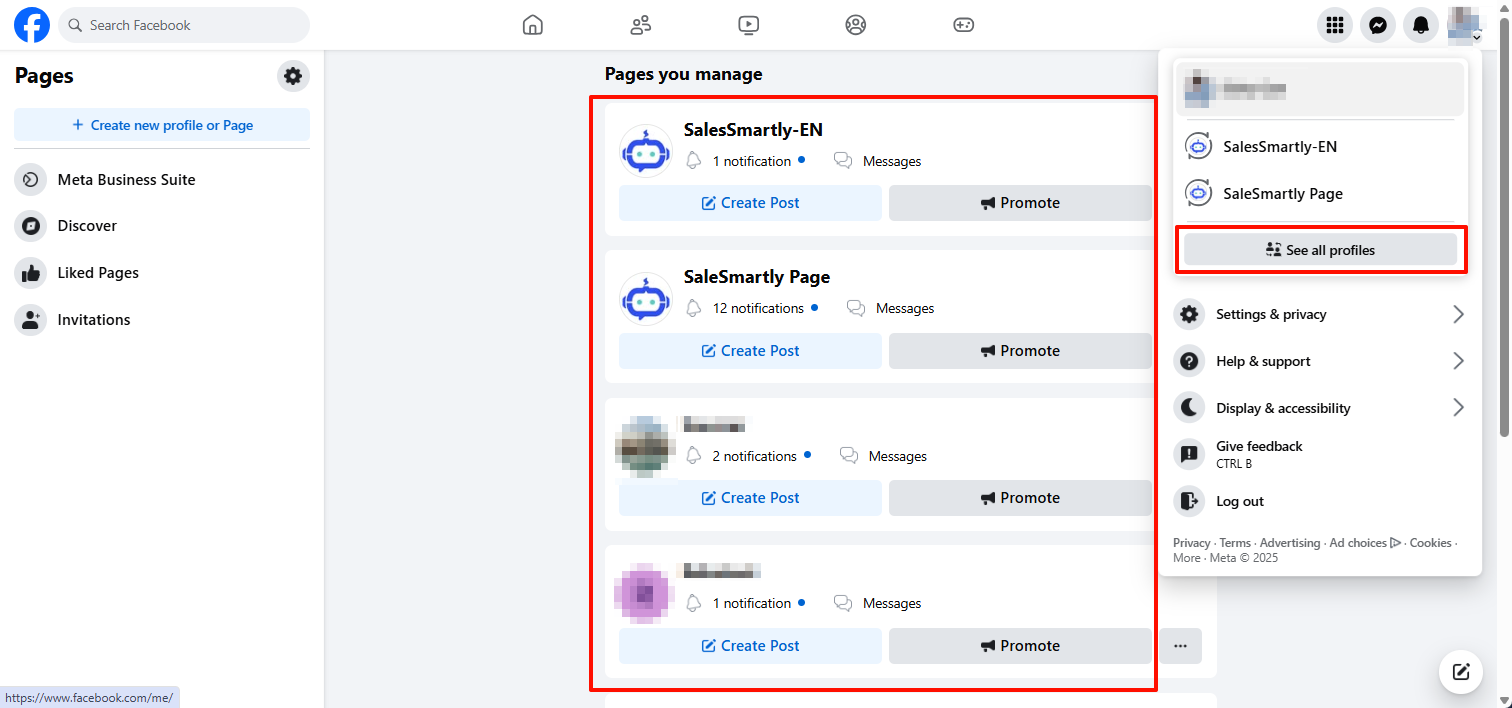
- Log in to Facebook and click your profile picture in the upper right corner.

- Click View all personal homepages, and then select the public homepage you want to switch to.
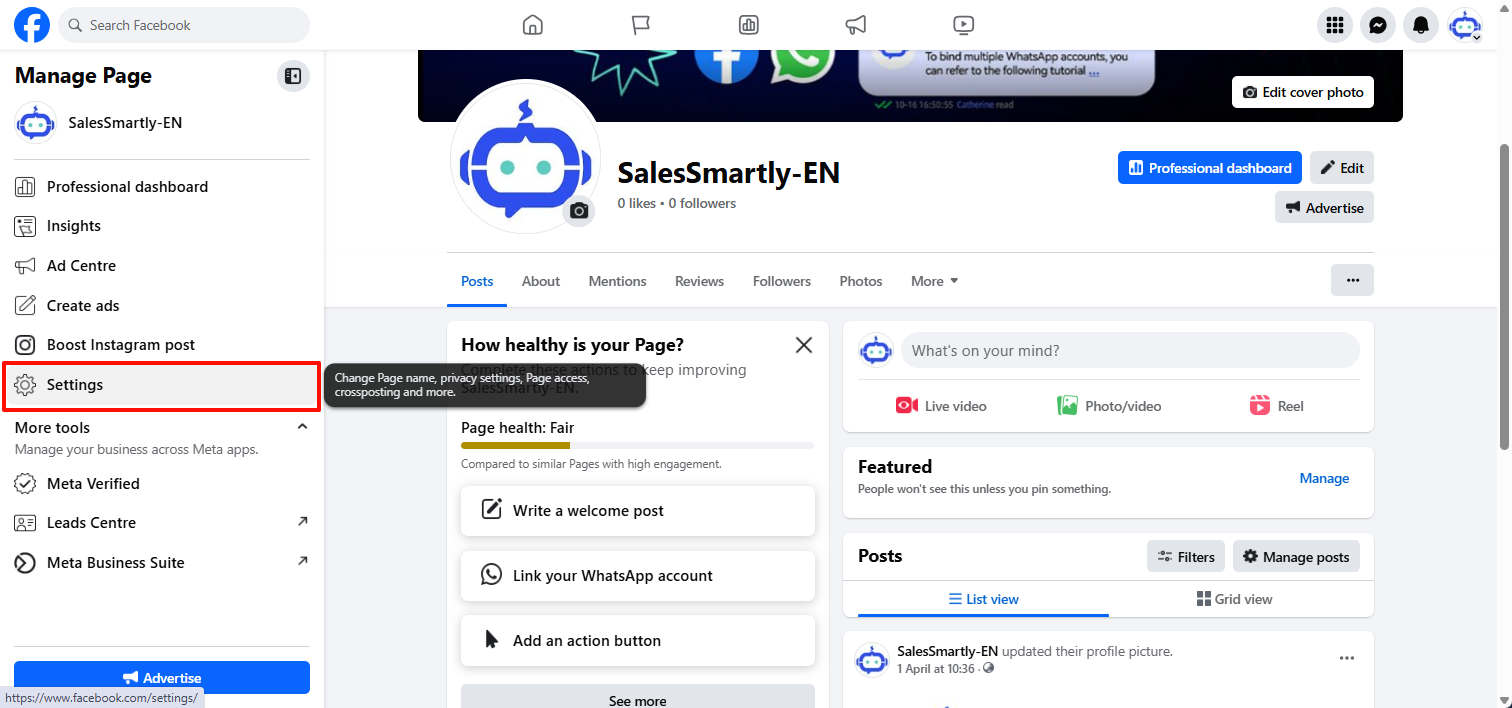
- Click the profile picture on the upper right corner of the page to go to your profile, then click Switch Profile.


- Click on the avatar settings and privacy in the upper right corner, or click on Settings or click on Settings on the left, as shown below.
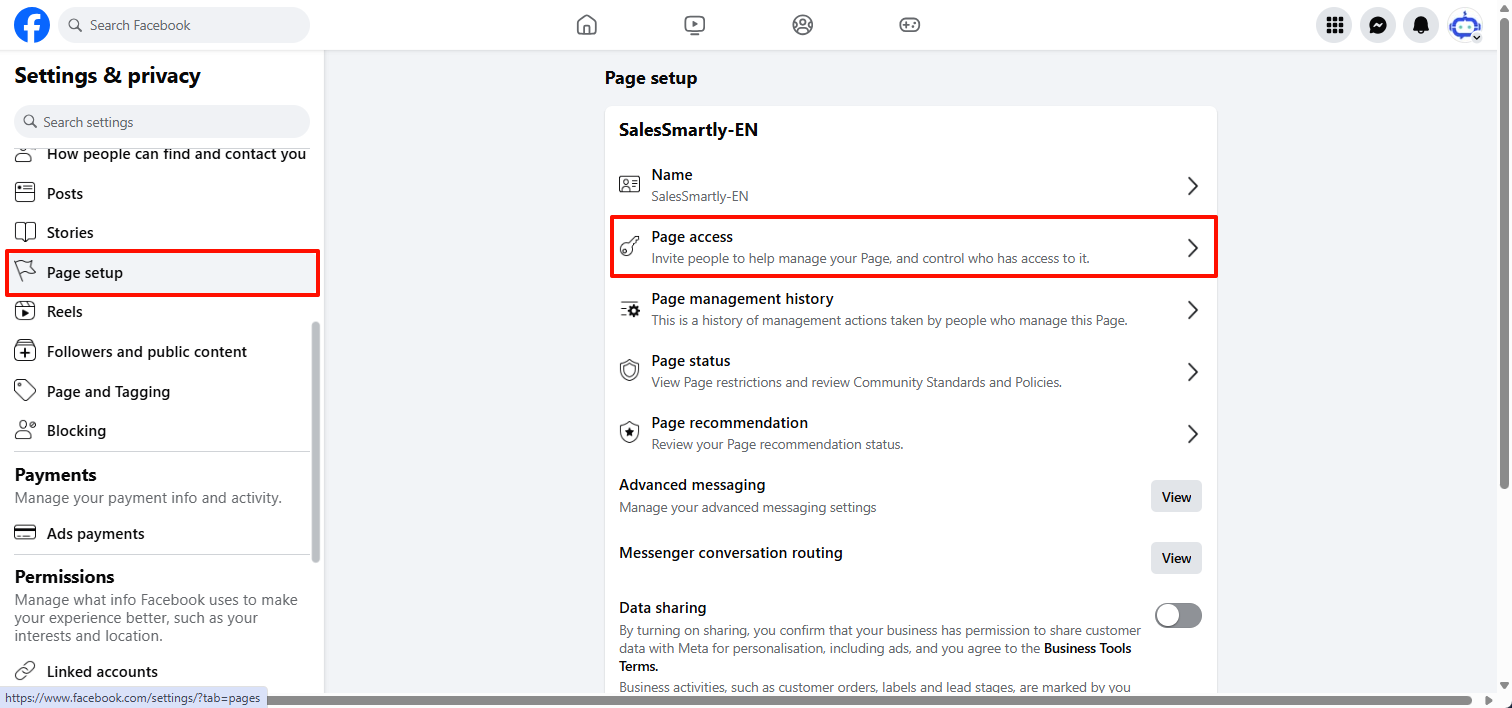
- Click Public Setup, and then click Page Access.
- Click Add New next to the user who has Facebook management permissions.
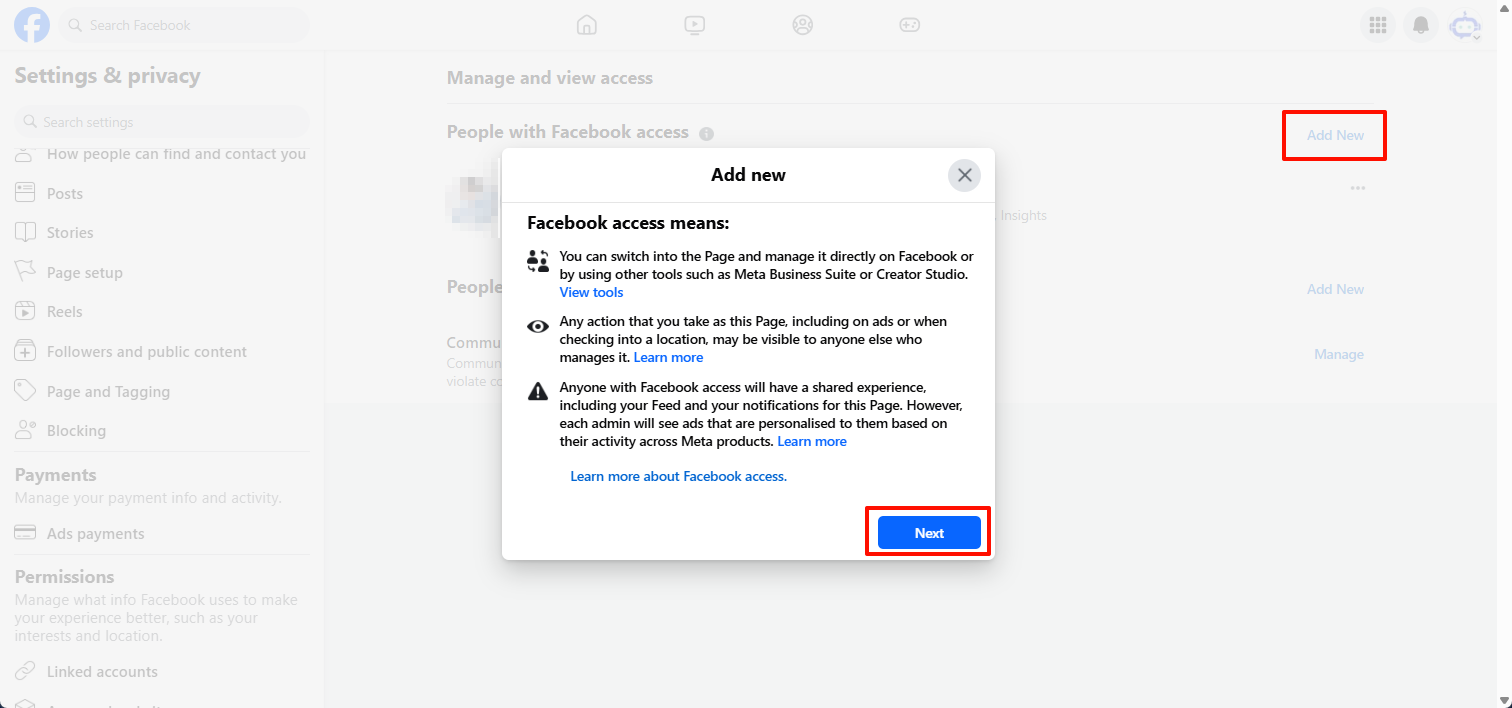
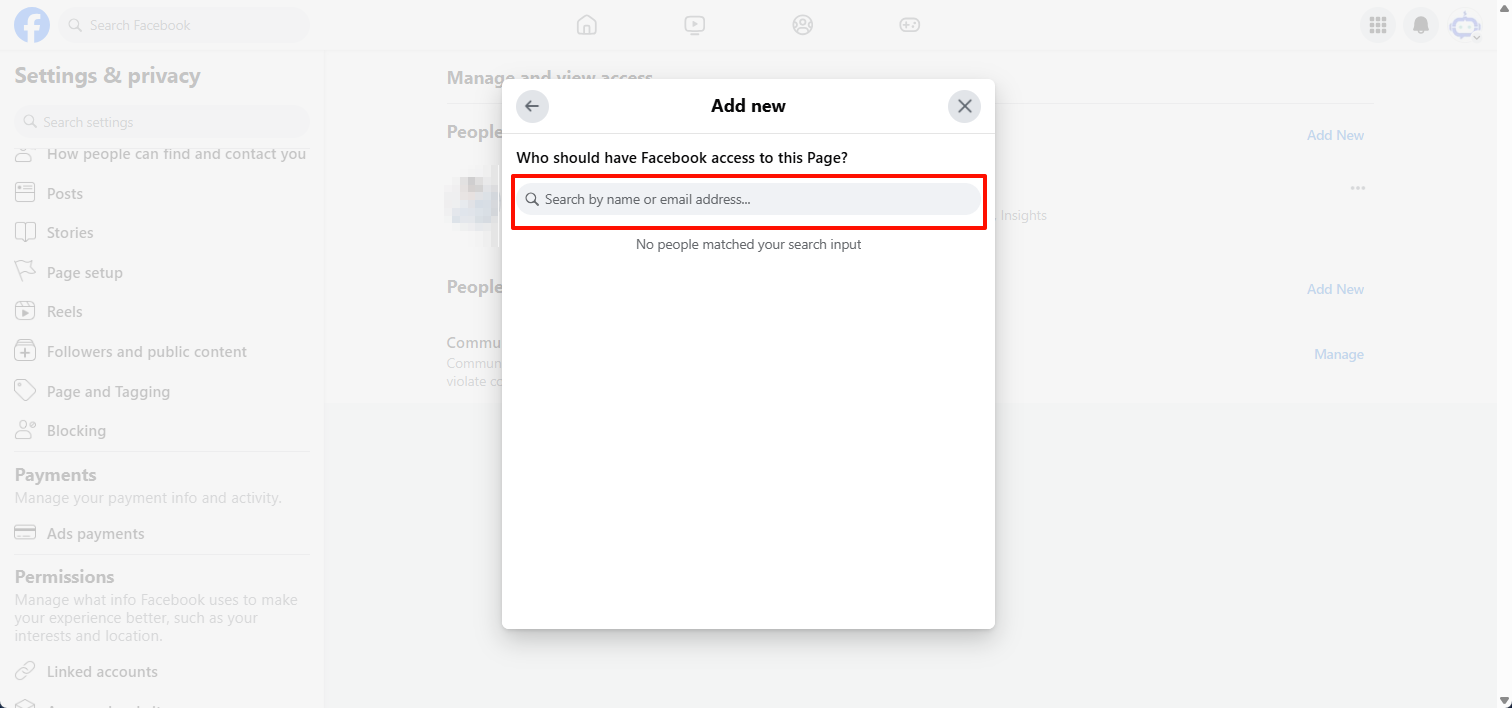
- Click Next, enter the name or email address of the user you want to grant Facebook management permissions to, and then click the user's name.

Facebook official help document description: https://www.facebook.com/help/1206330326045914/?helpref=hc_fnav
3.3. How to Accept an Invitation to Visit a Facebook Public Page
After sending the invitation, the invitee will receive an email notification.
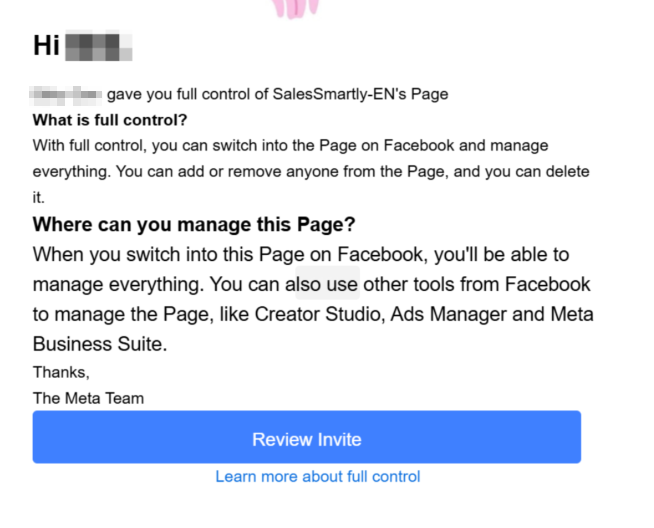
Click to jump to the target public homepage.

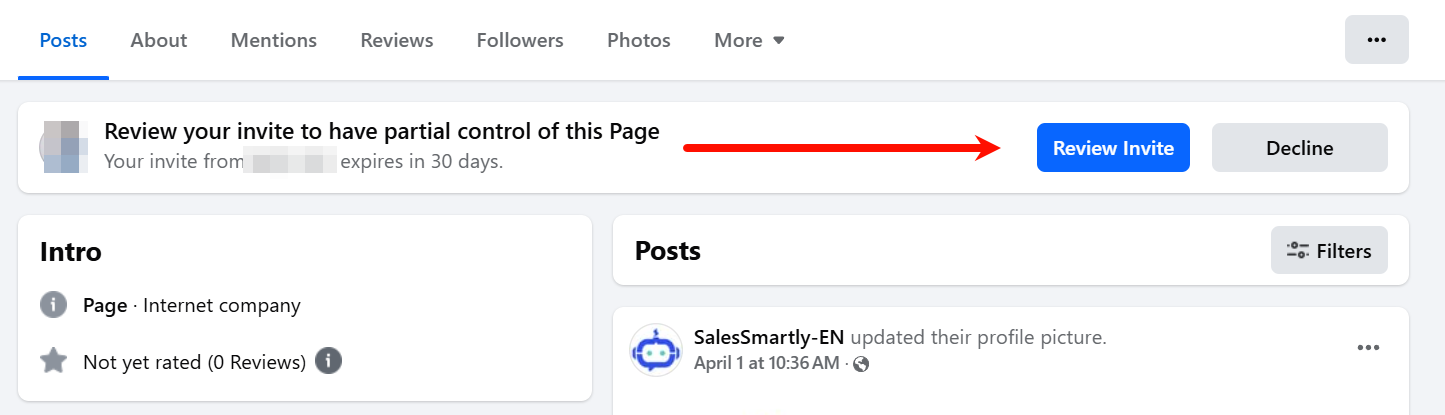
If you are a guest and have not received an invitation notification, you can search for the target homepage directly in the Facebook search bar.

Then click to enter the public homepage. At this time, you can see the invitation at the bottom of the homepage. Click to review the invitation.
In the pop-up window, review the administrative permissions and click Next.
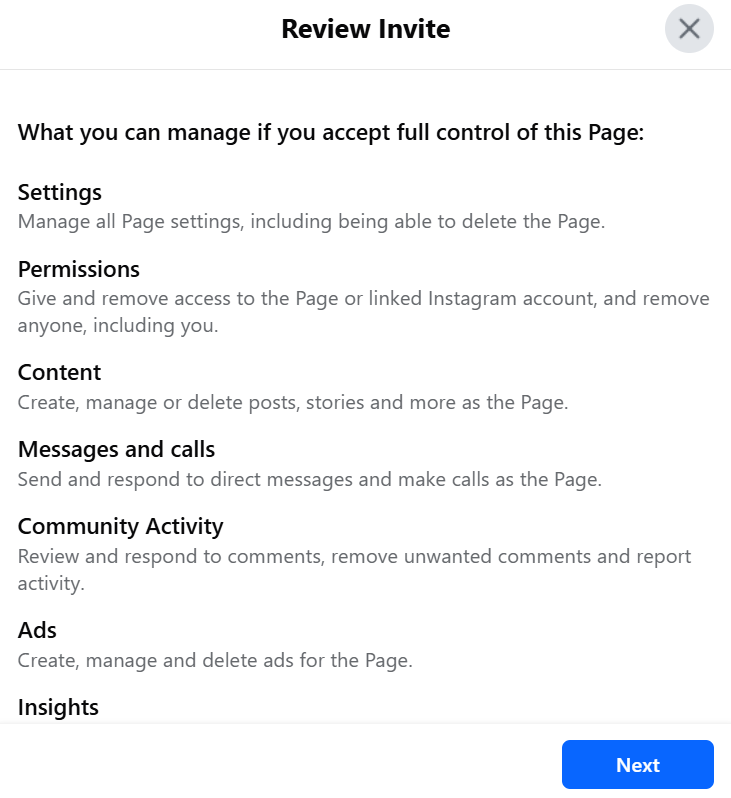
After confirmation, click Accept Invitation.

You have now successfully accepted the Facebook Page administrator invitation.
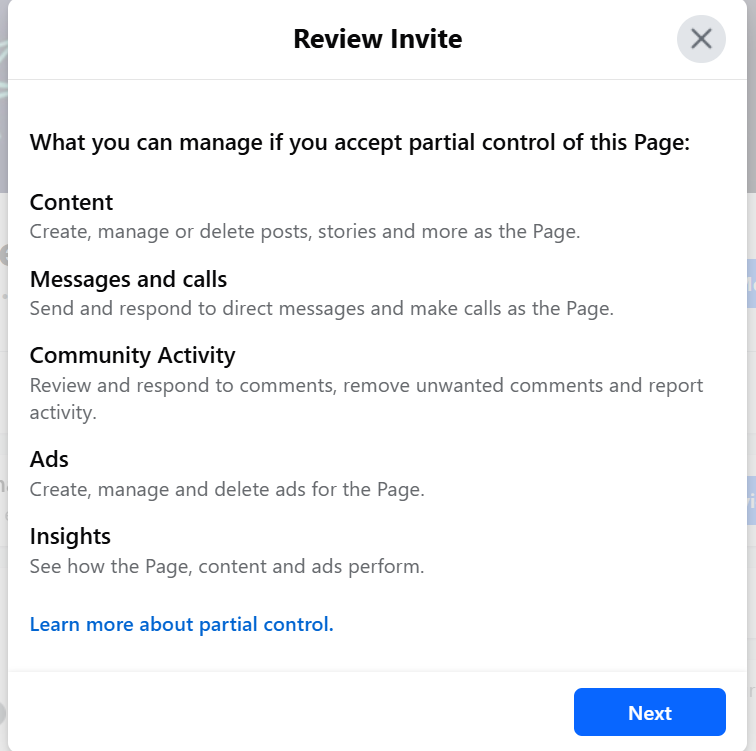
If you do not want to grant administrator privileges, you can choose to grant partial control instead of allowing the invited user to have full control when inviting the user.

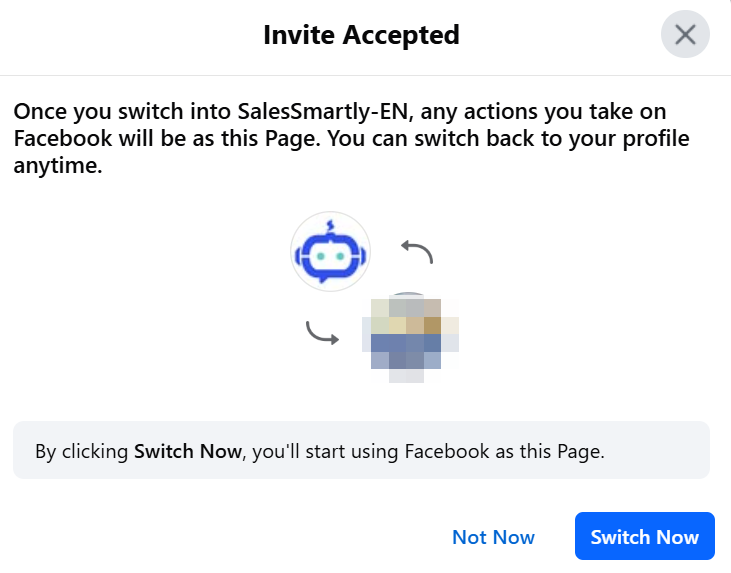
When the invited user accepts the invitation and checks the permissions, they will see the "Accept Partial Control of this Page".
Similarly, click Agree to accept the successful invitation (partial control).

The above is an introduction to adding users to the new version of Facebook public page, granting administrator permissions, and accepting invitations.