Create WhatsApp API
1. WhatsApp Cloud API Number Setup Guide for Facebook
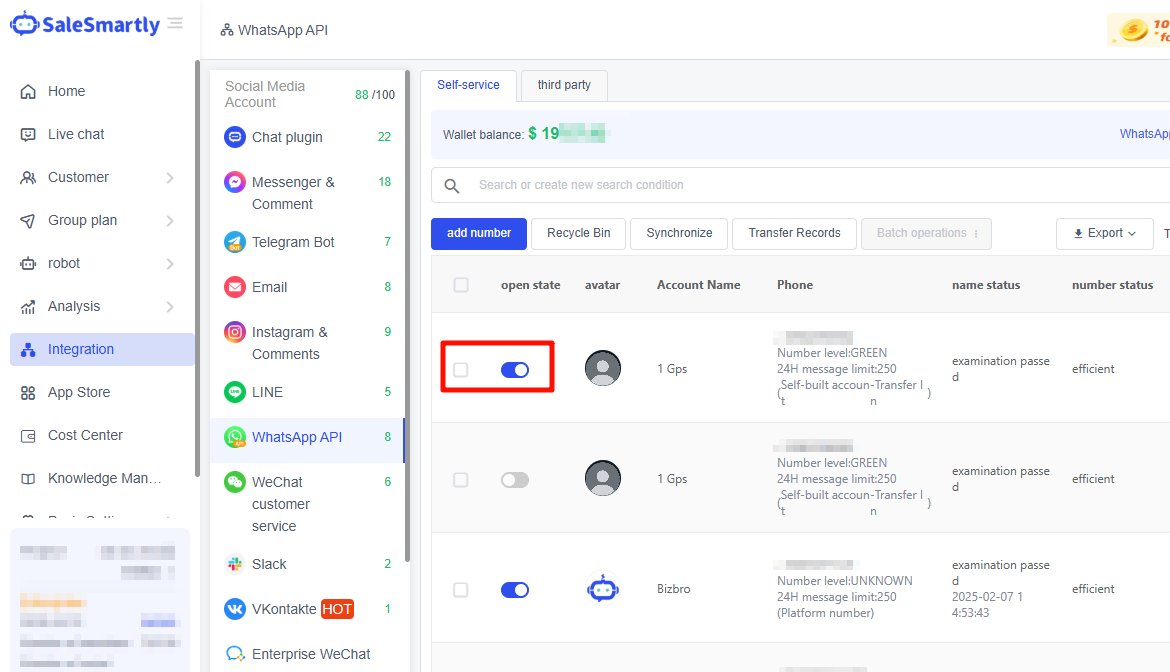
This article guides you through creating a WhatsApp Cloud API number for Facebook. For connecting the Cloud API number to SaleSmartly, visit: Cloud API Number Connection Tutorial – SaleSmartly Help Center
2. 1. Register for Facebook Business Manager (BM)
Go to: https://business.facebook.com/ and select "Create an Account".
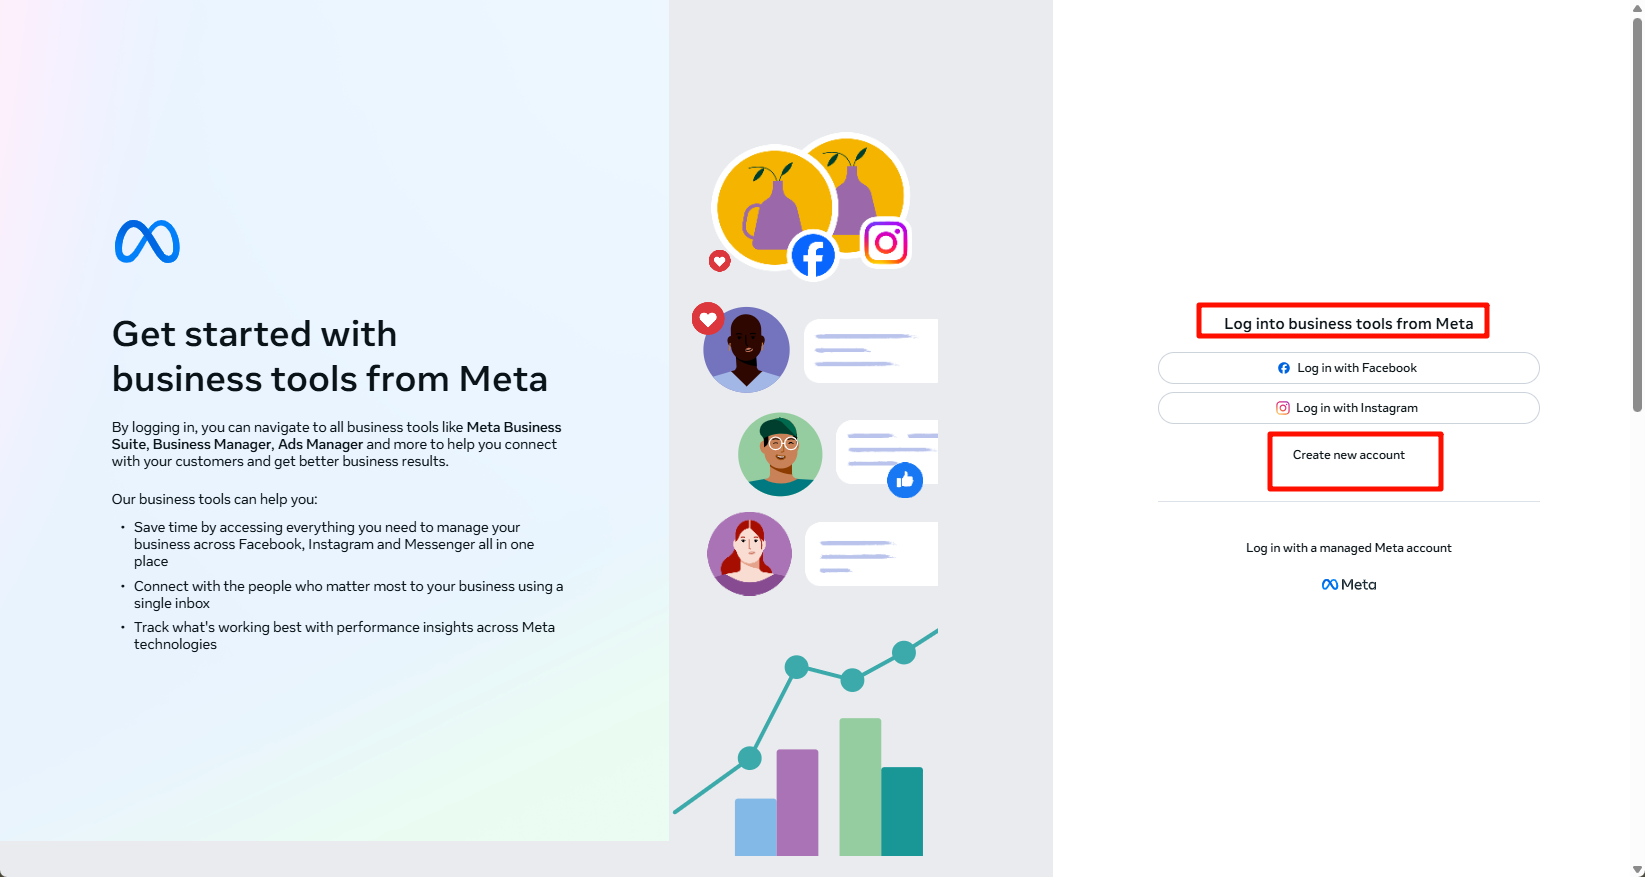
Fill in the BM name and email address, then select "Submit".
After submission, click "Finish" on the email verification prompt.
Check your email and click the verification link.
3. 2. Create a Facebook Developer Account
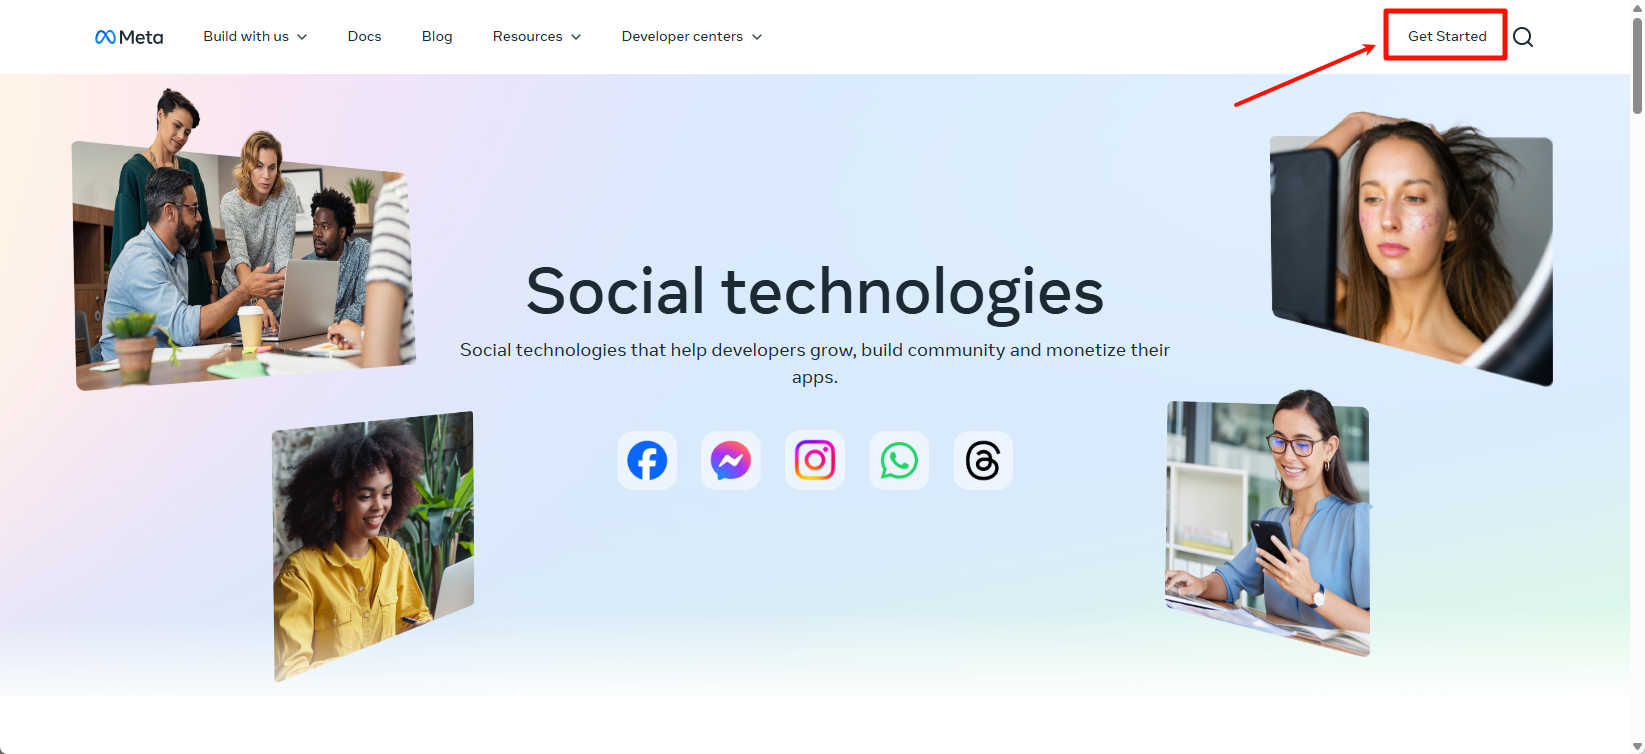
Visit: https://developers.facebook.com/?locale, open Meta for Developers, and select "Get Started Now".
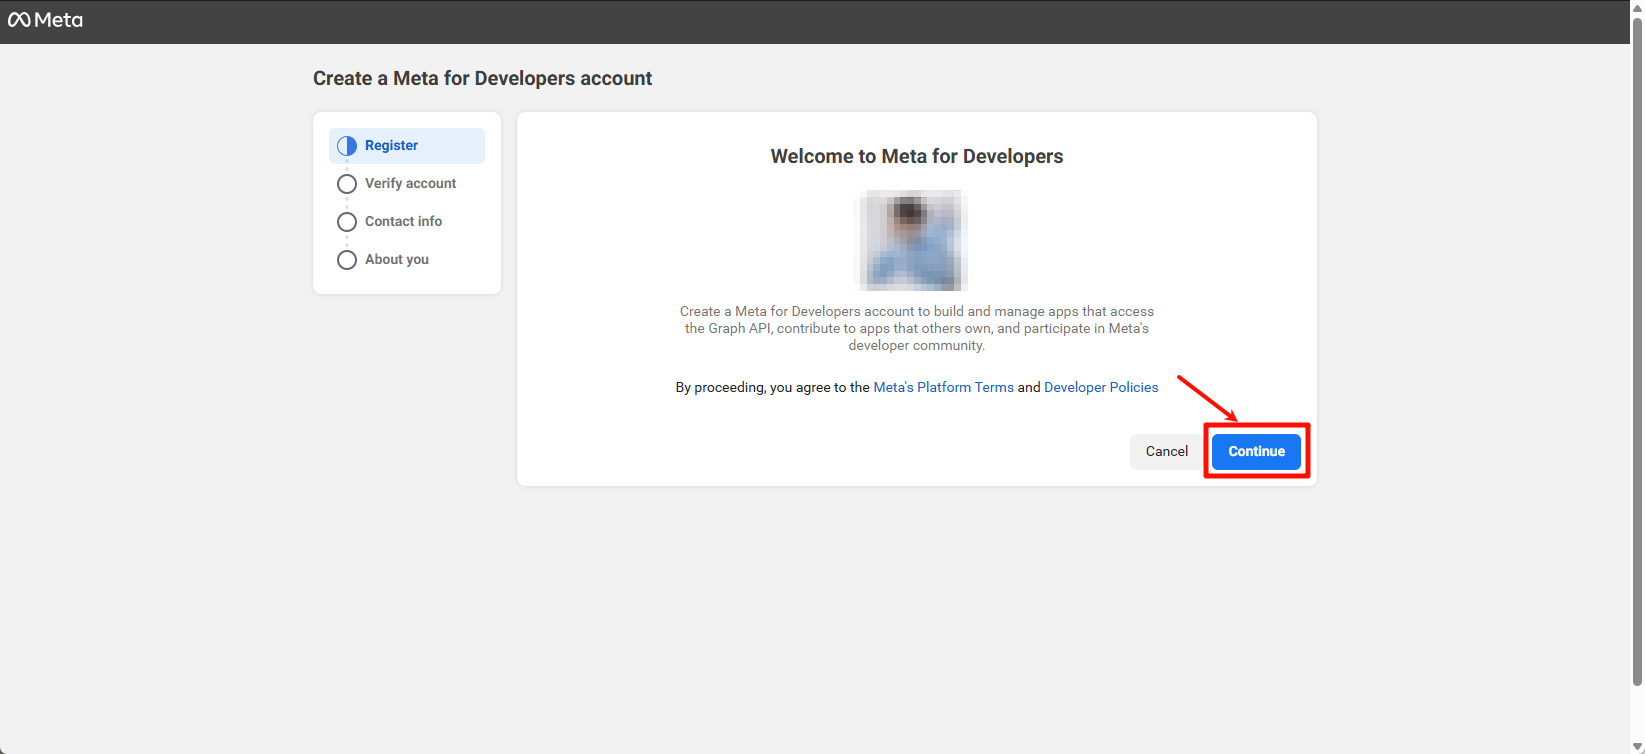
Create your account and select "Continue".
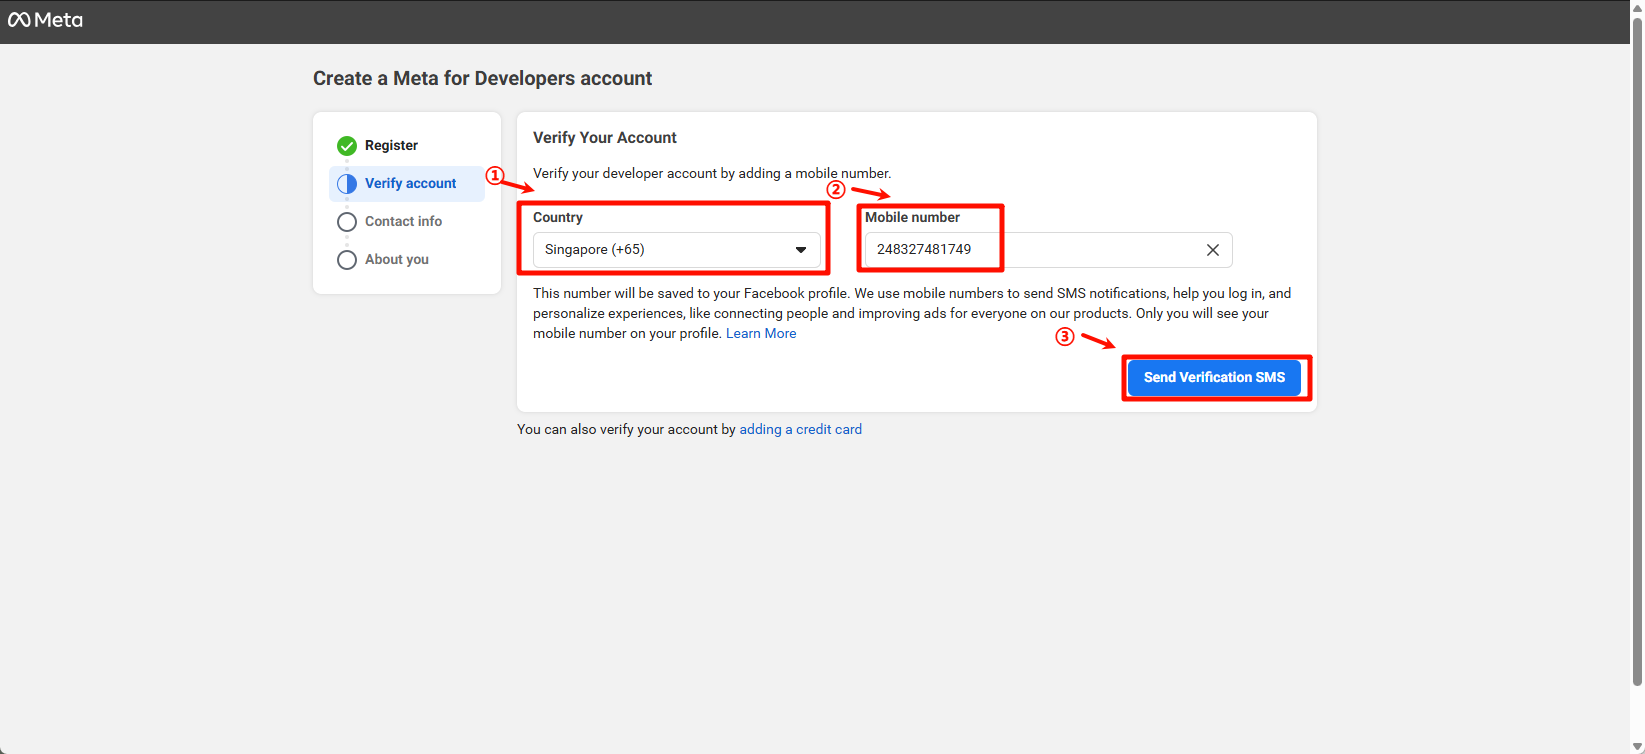
Select country/region, enter mobile number, and request SMS verification.
Note: You may reuse a number previously used with the Tool.
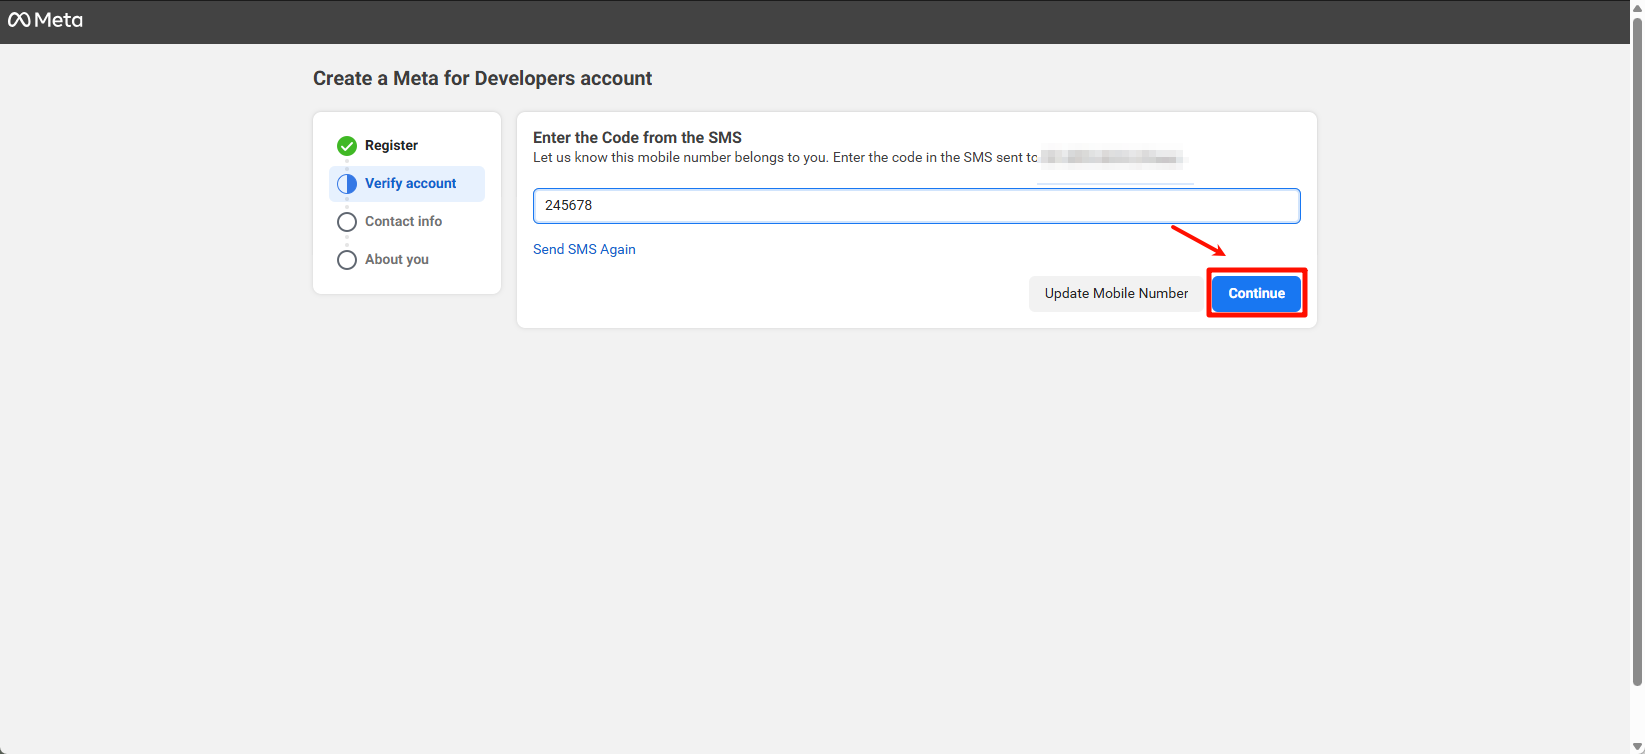
Enter the received verification code and continue.
Verify email and agree to marketing communications.
Select "Other" for identity, then complete registration.
Create your application.
4. 3. Create a Facebook App
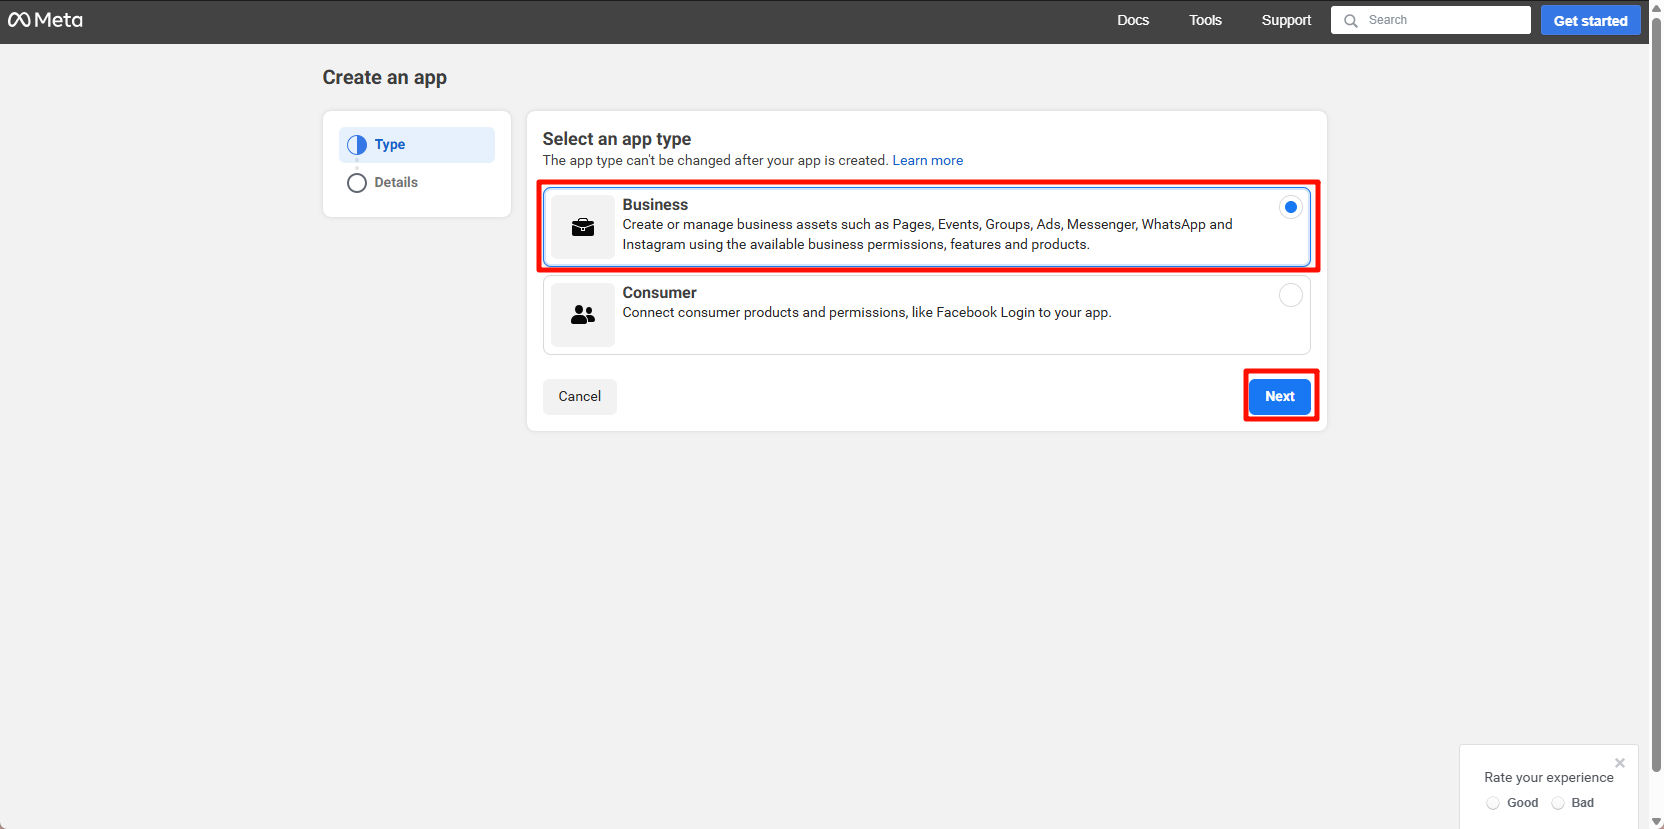
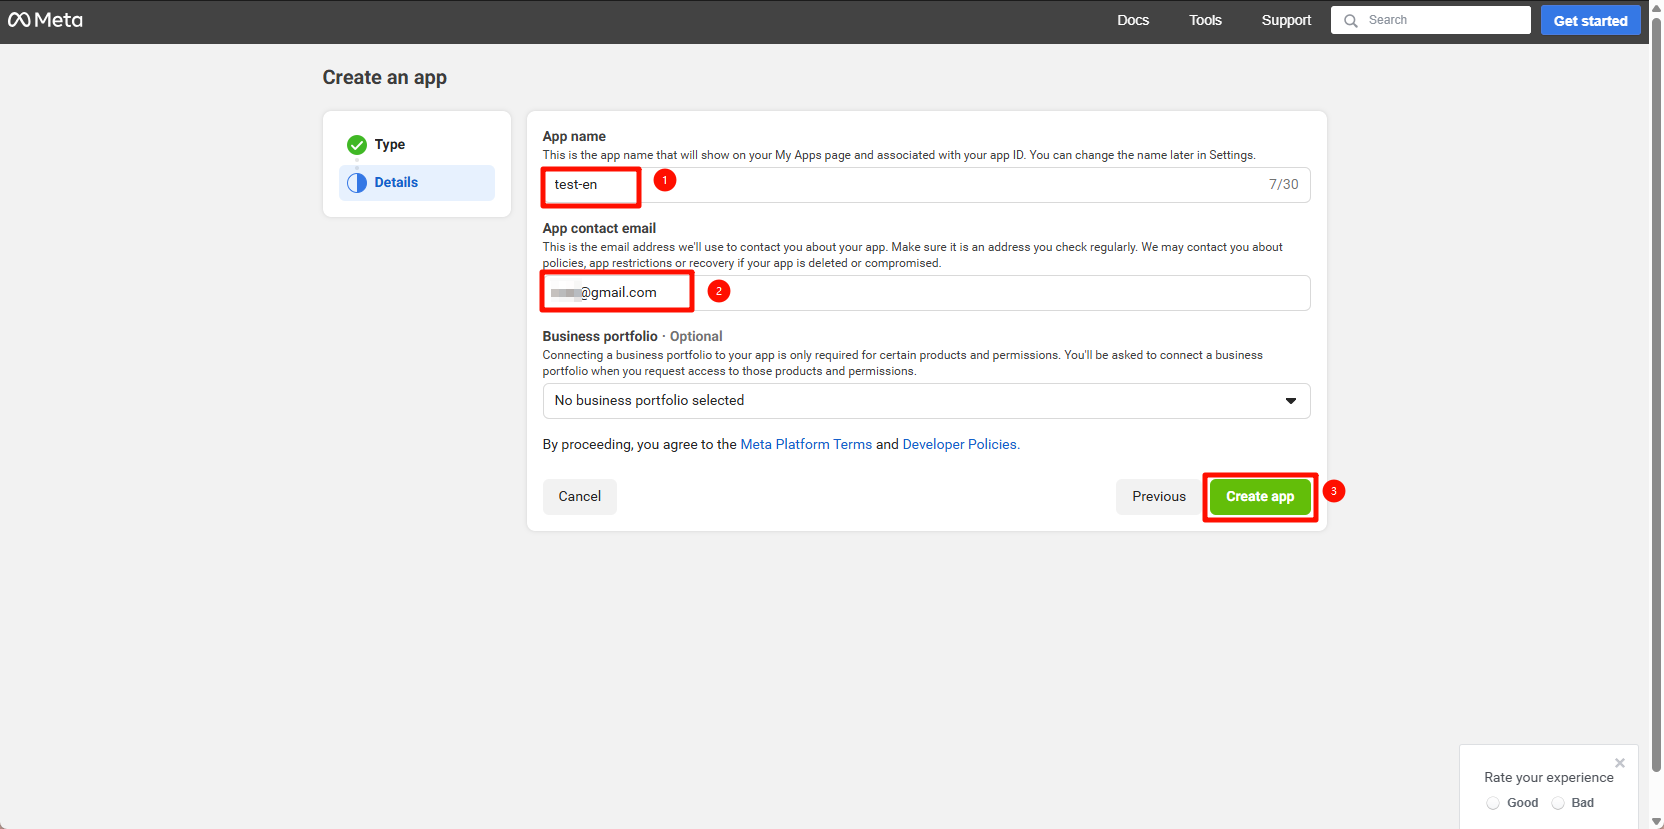
Visit: https://developers.facebook.com/apps/create/, select "Business" type, and create application.
Connect to your BM account (1 app per BM). WABA accounts will sync to SaleSmartly.
In the app dashboard, select WhatsApp > Settings.
Important: If WhatsApp isn't available, ensure:
- FB account and BM regions are outside mainland China
- Change BM region at: https://business.facebook.com/settings/people/
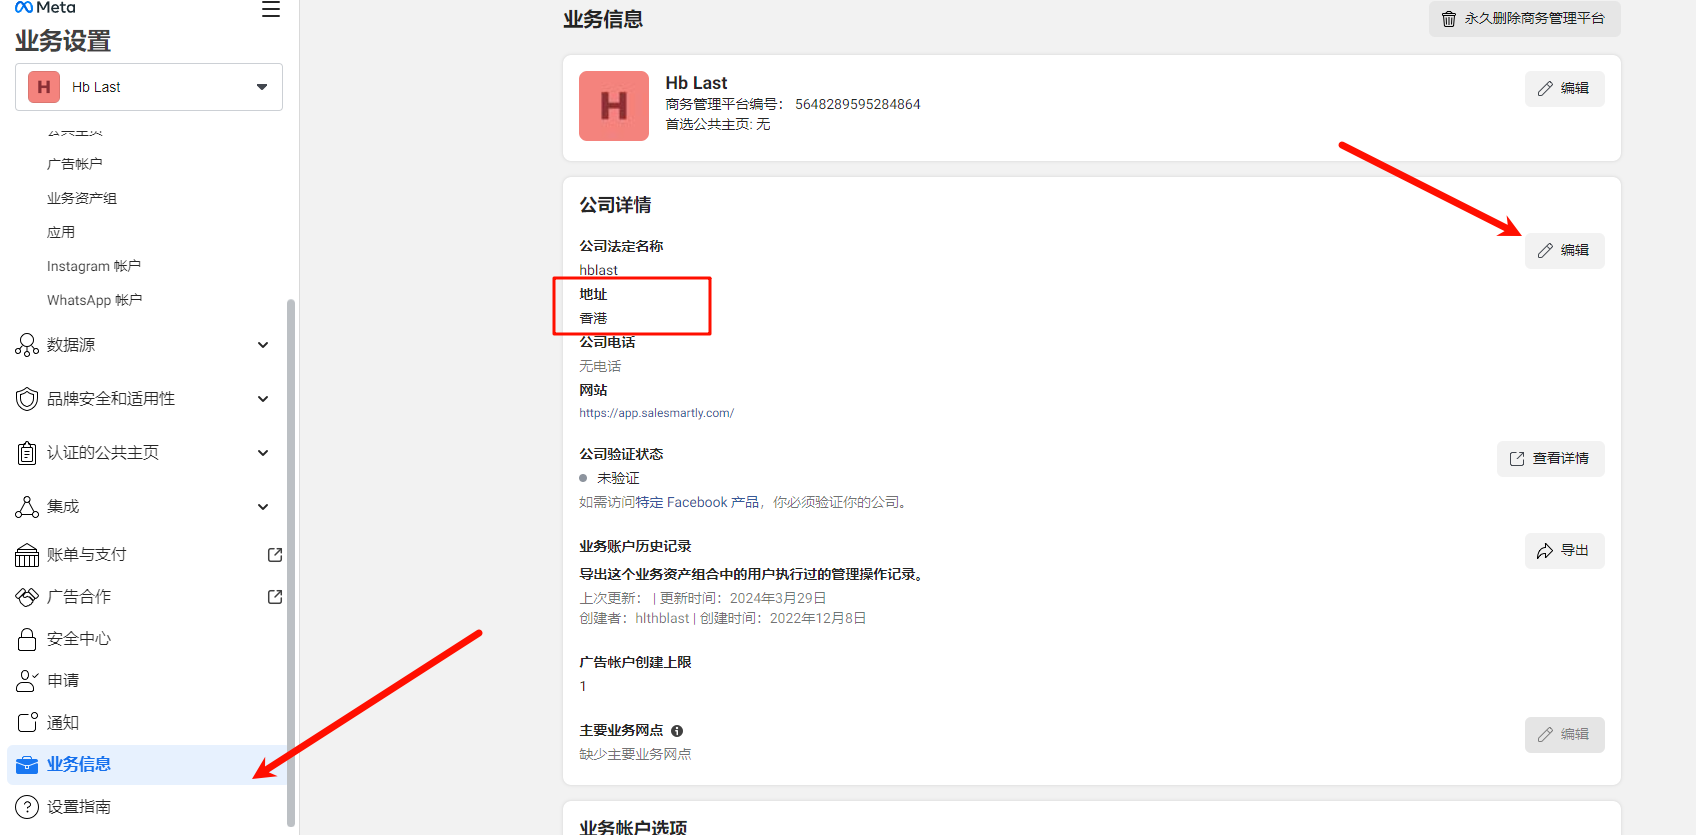
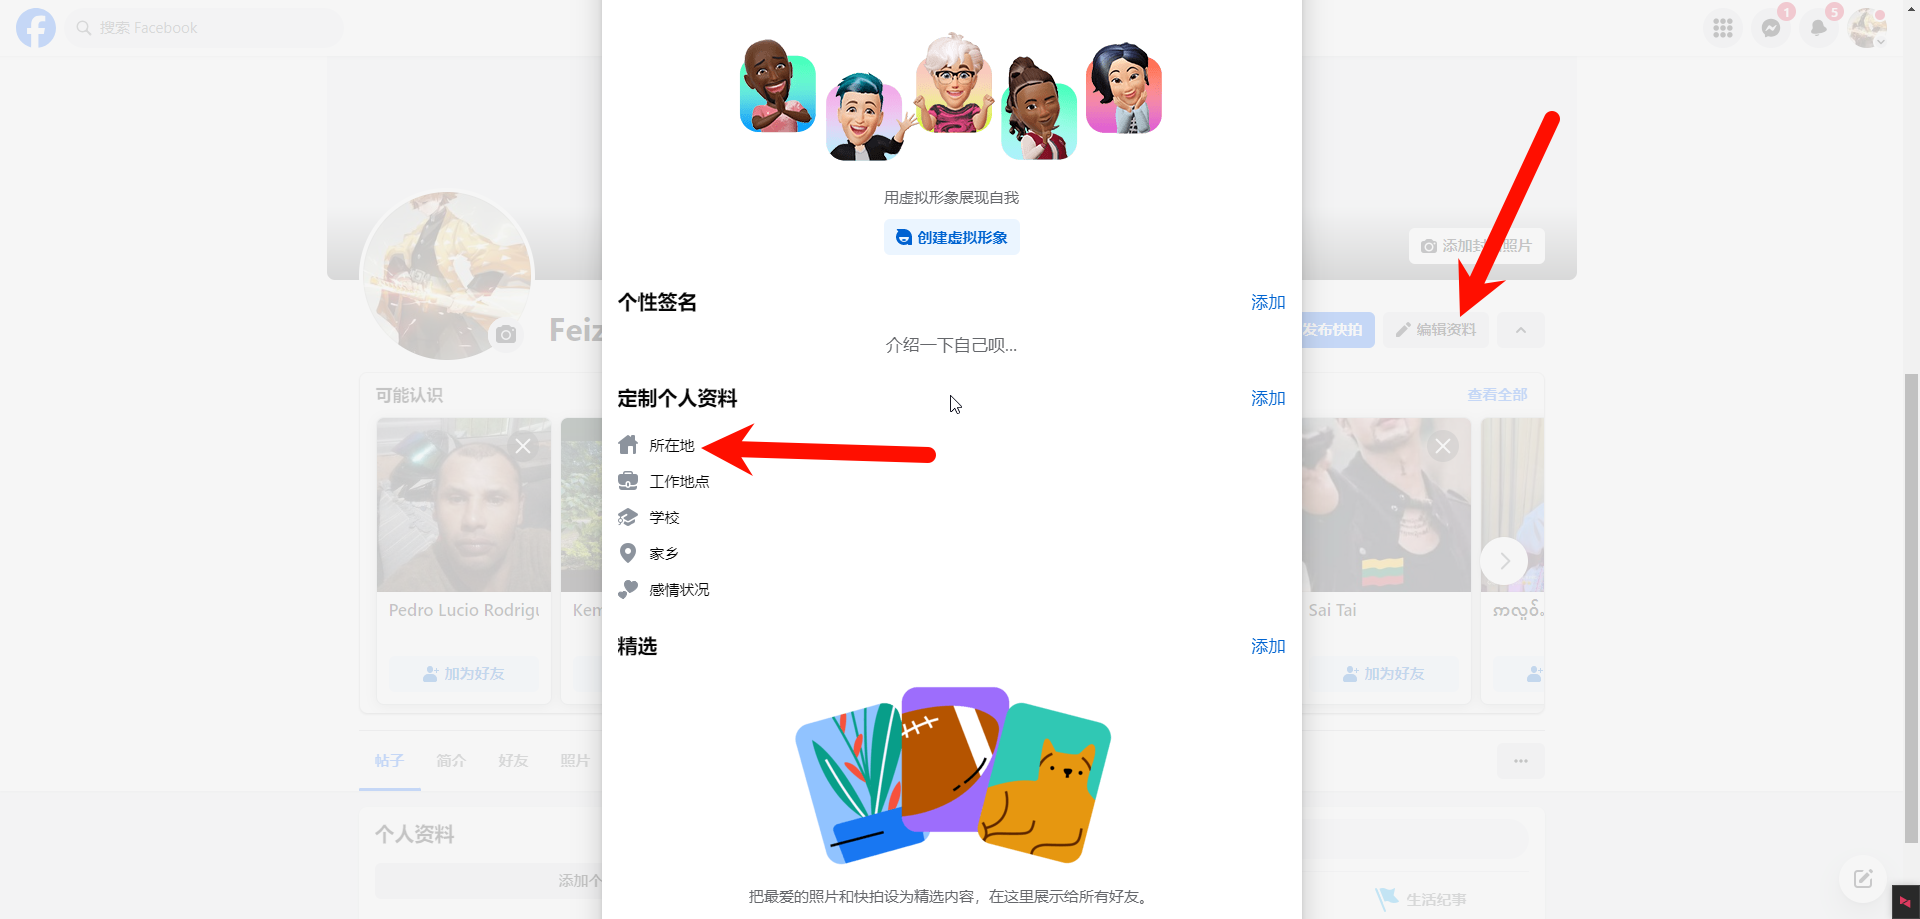
Change FB account region at: https://www.facebook.com/profile.php?
5. 4. Create WhatsApp Business Account (WABA)
Select "Quick Start" > "Continue".
Choose "Get Started", then "Add Number".
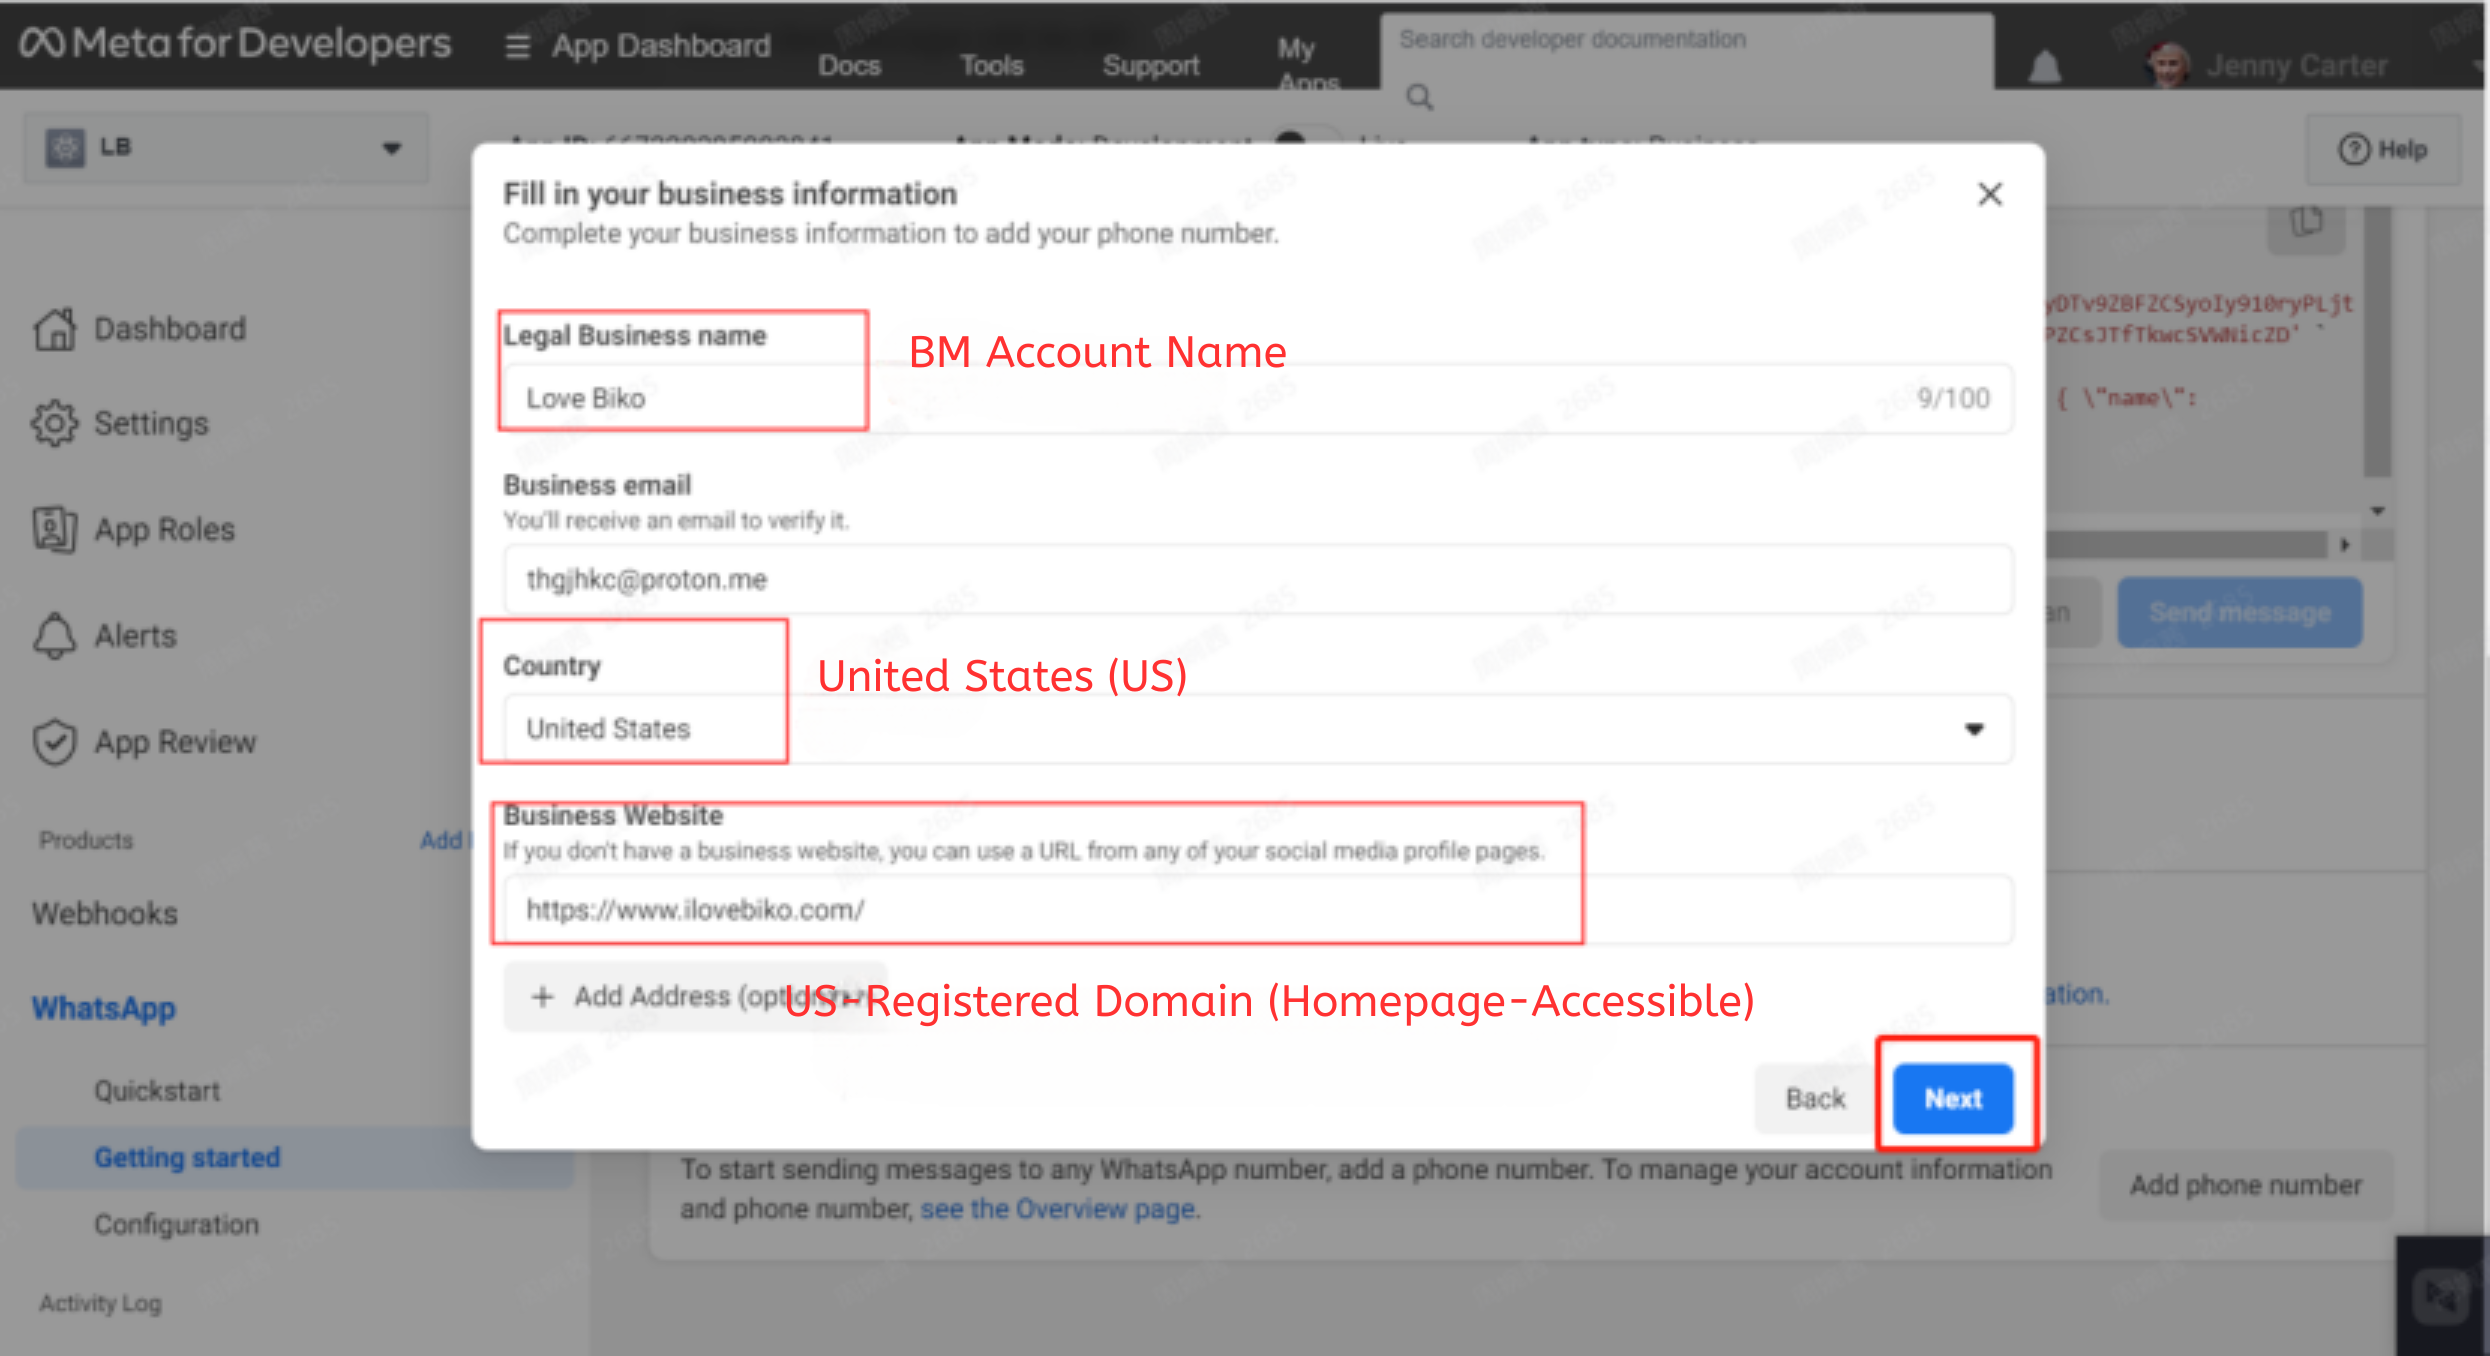
Enter BM details and US domain, then select "Next".
Select "Other" for Business Category.
Click Next.
Enter phone number (recommend US number), select "Receive SMS", and verify.
After verification, view your phone number and WABA ID.