Modify Chat Avatars
Easily modify chat plugin, robot, and member avatars for better user experience.
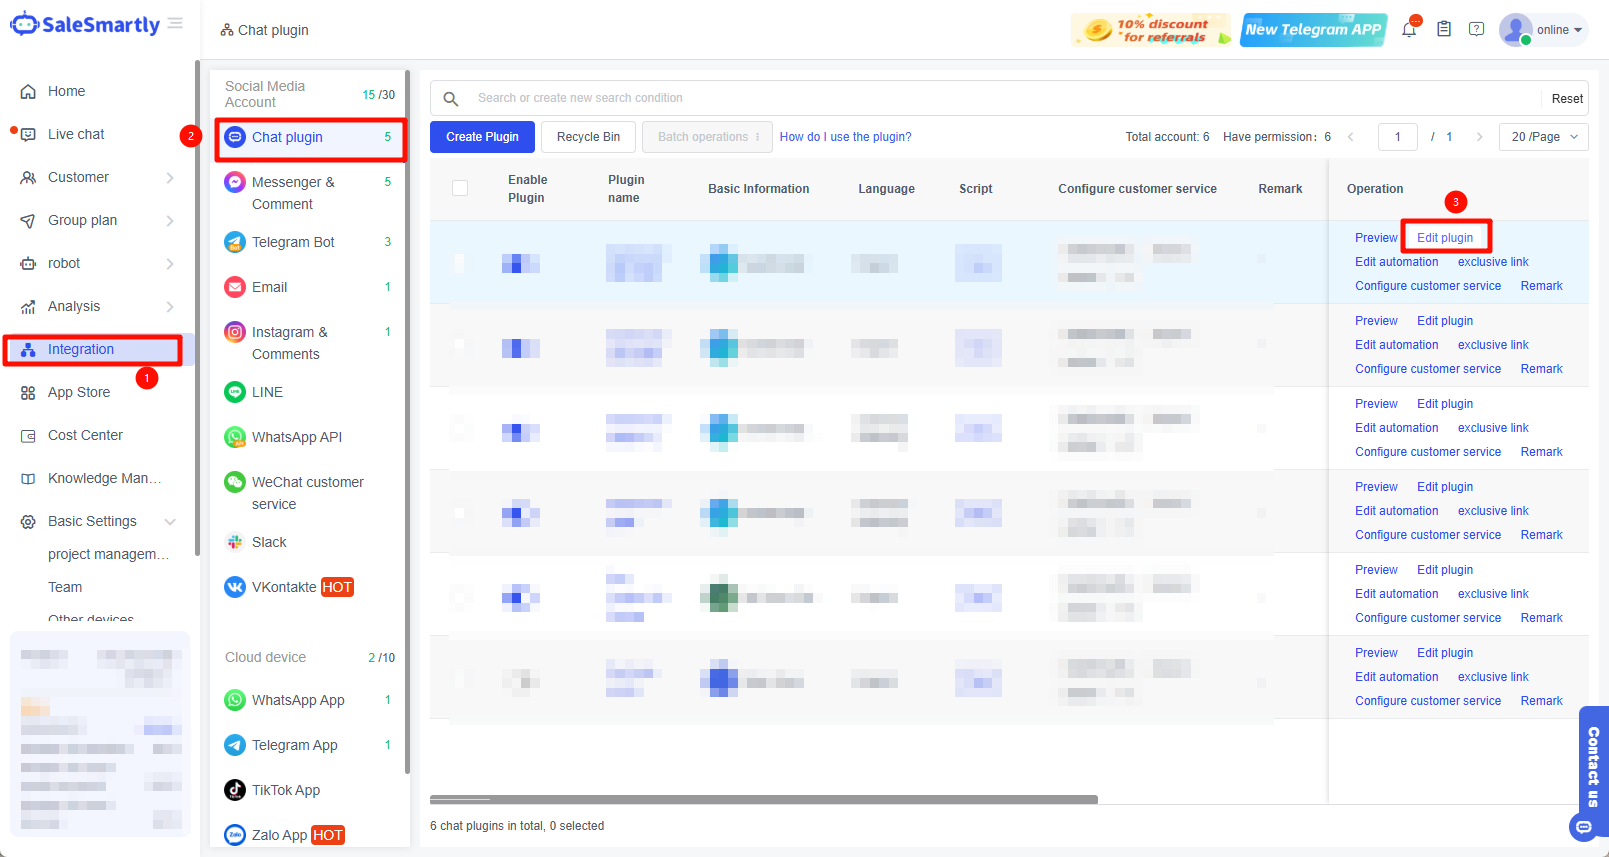
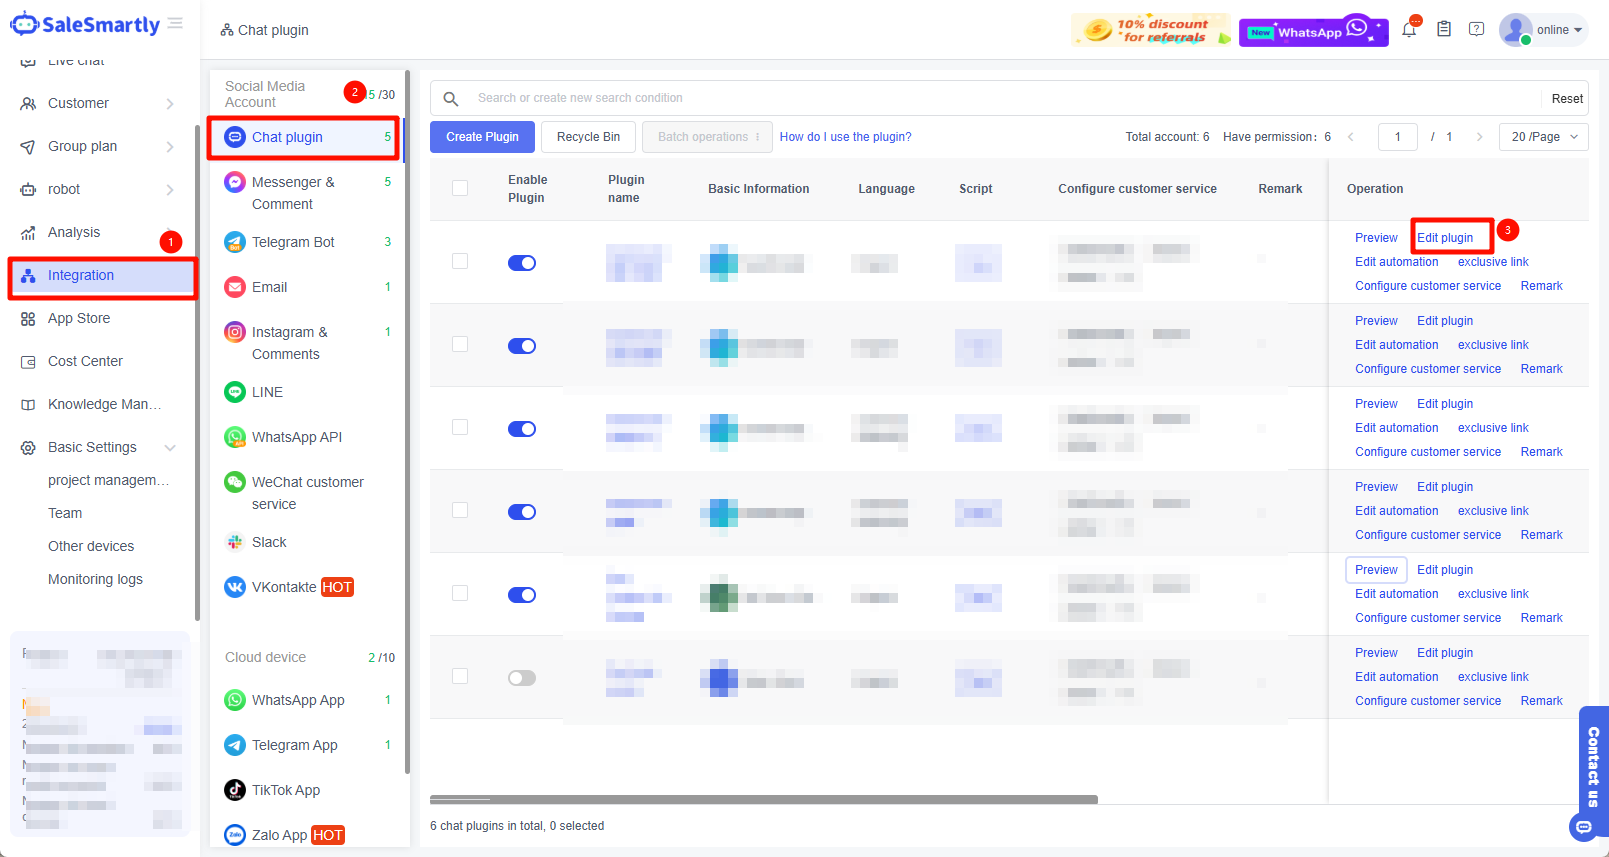
1. Modify Chat Plugin and Merchant Logo Avatars
1.1. Enter Integration - Chat Plugin - Edit Plugin.
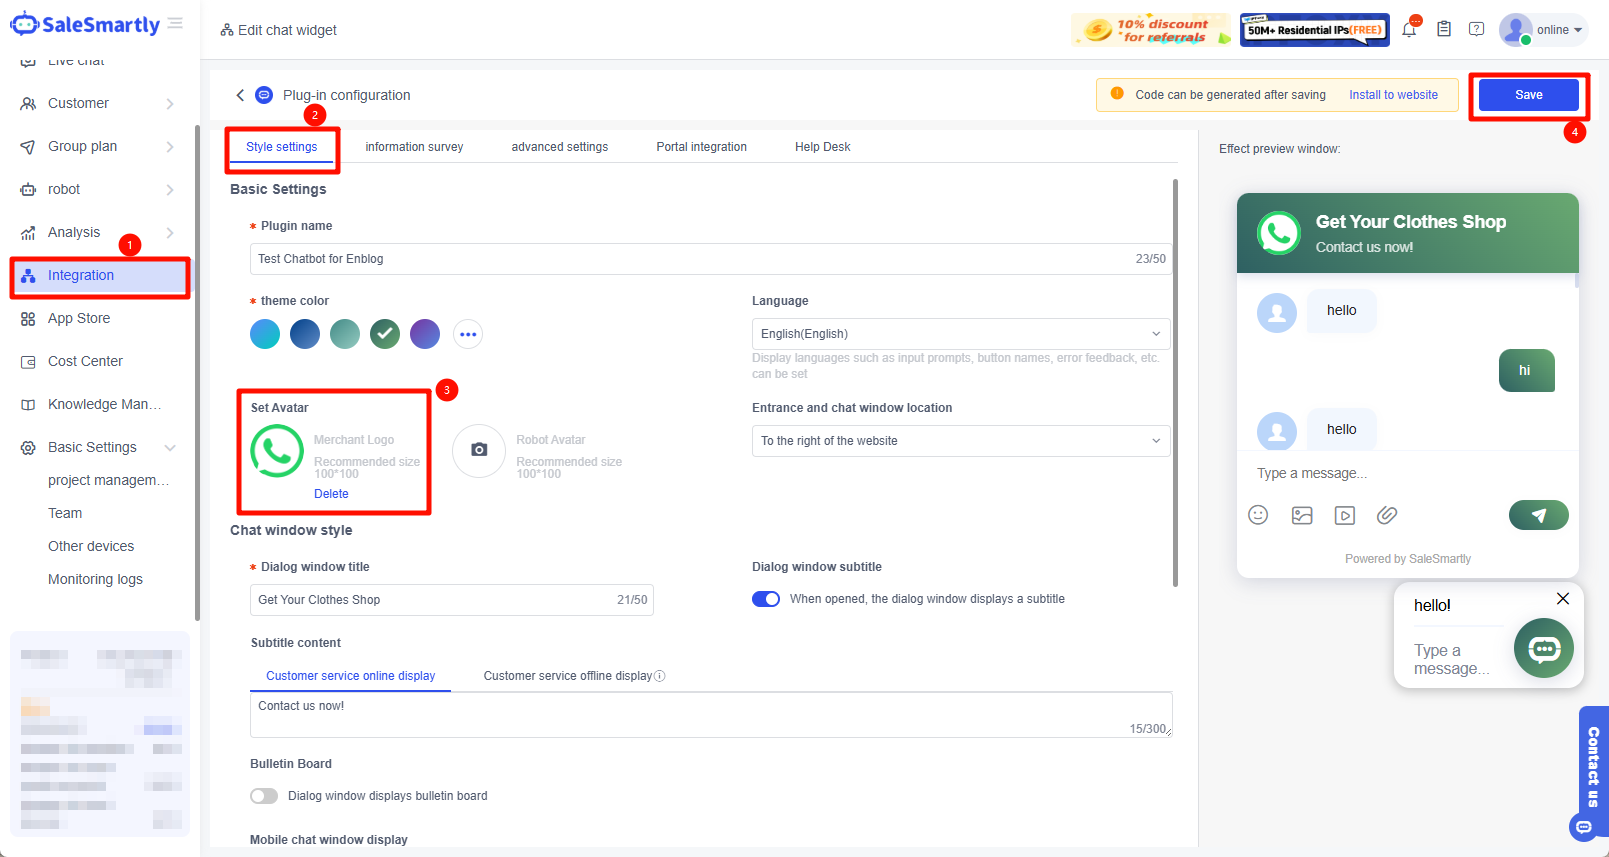
1.2. Find Style Settings - Set Avatar - Merchant Logo, upload the avatar and click Save in the upper right corner to take effect.
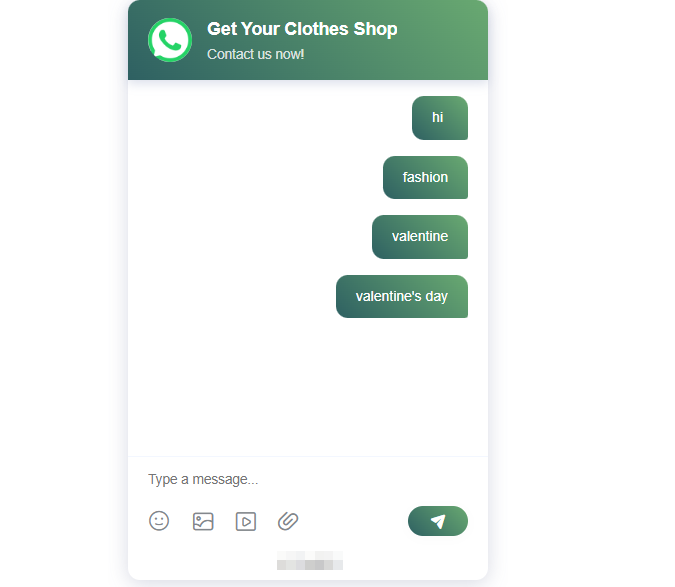
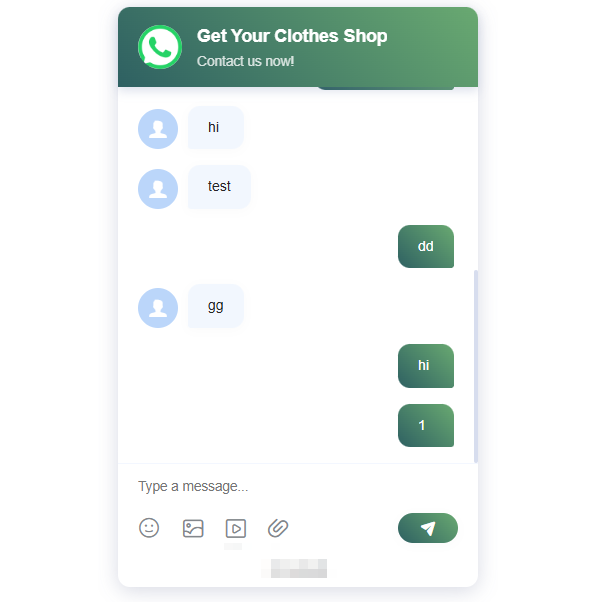
1.3. Effect preview.
2. Modify the Robot Avatar
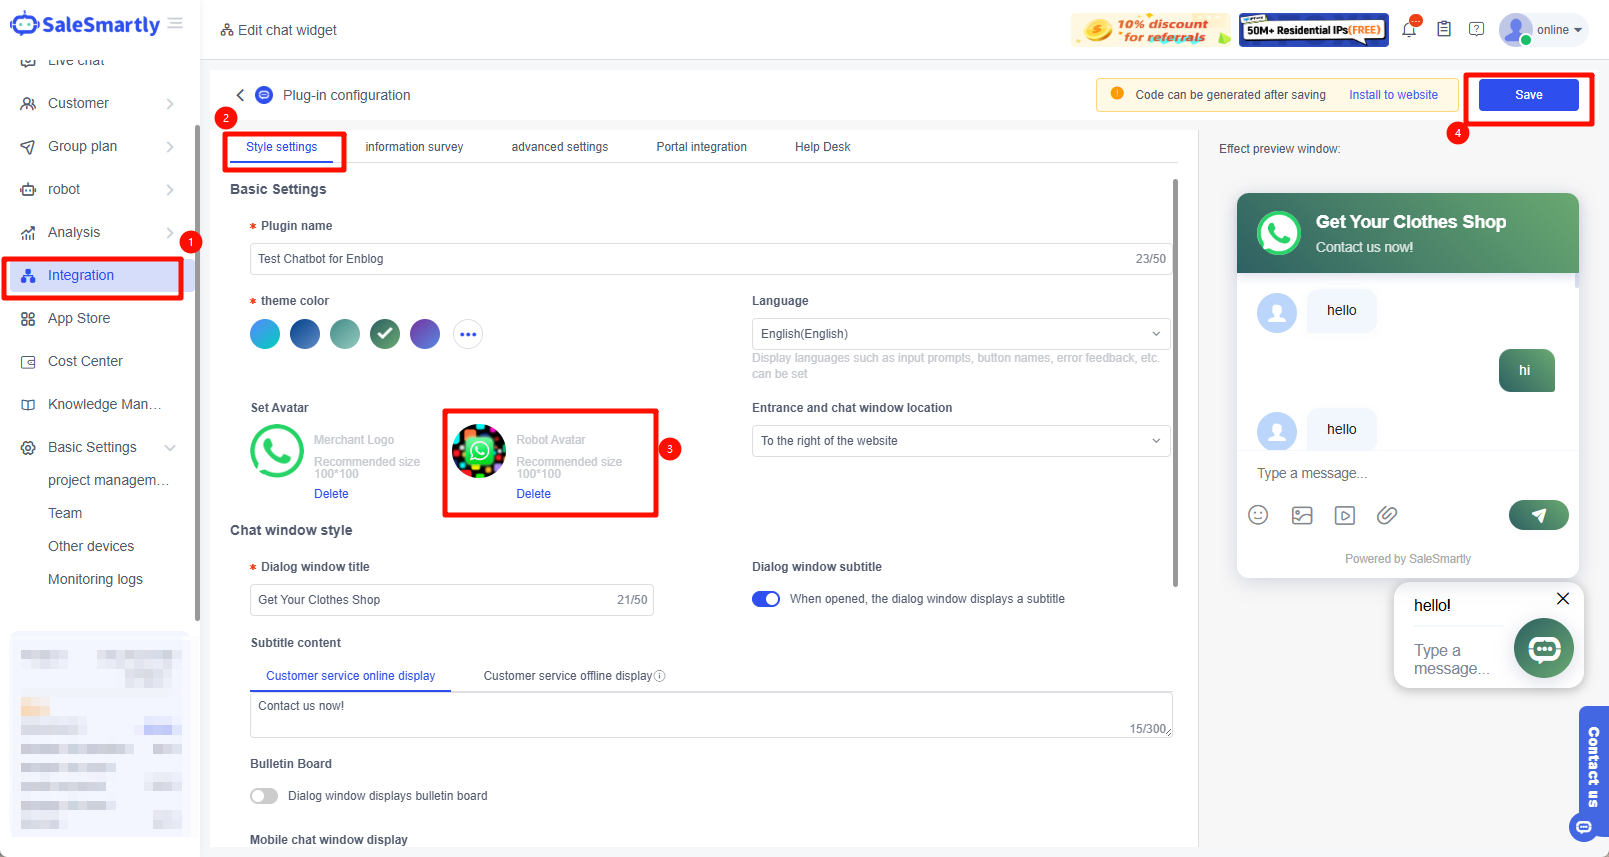
2.1. Enter Integration - Chat Plugin - Edit Plugin.
2.2. Find Style Settings - Set Avatar - Robot Avatar, upload the avatar and click Save in the upper right corner to take effect.
2.3. Effect preview.
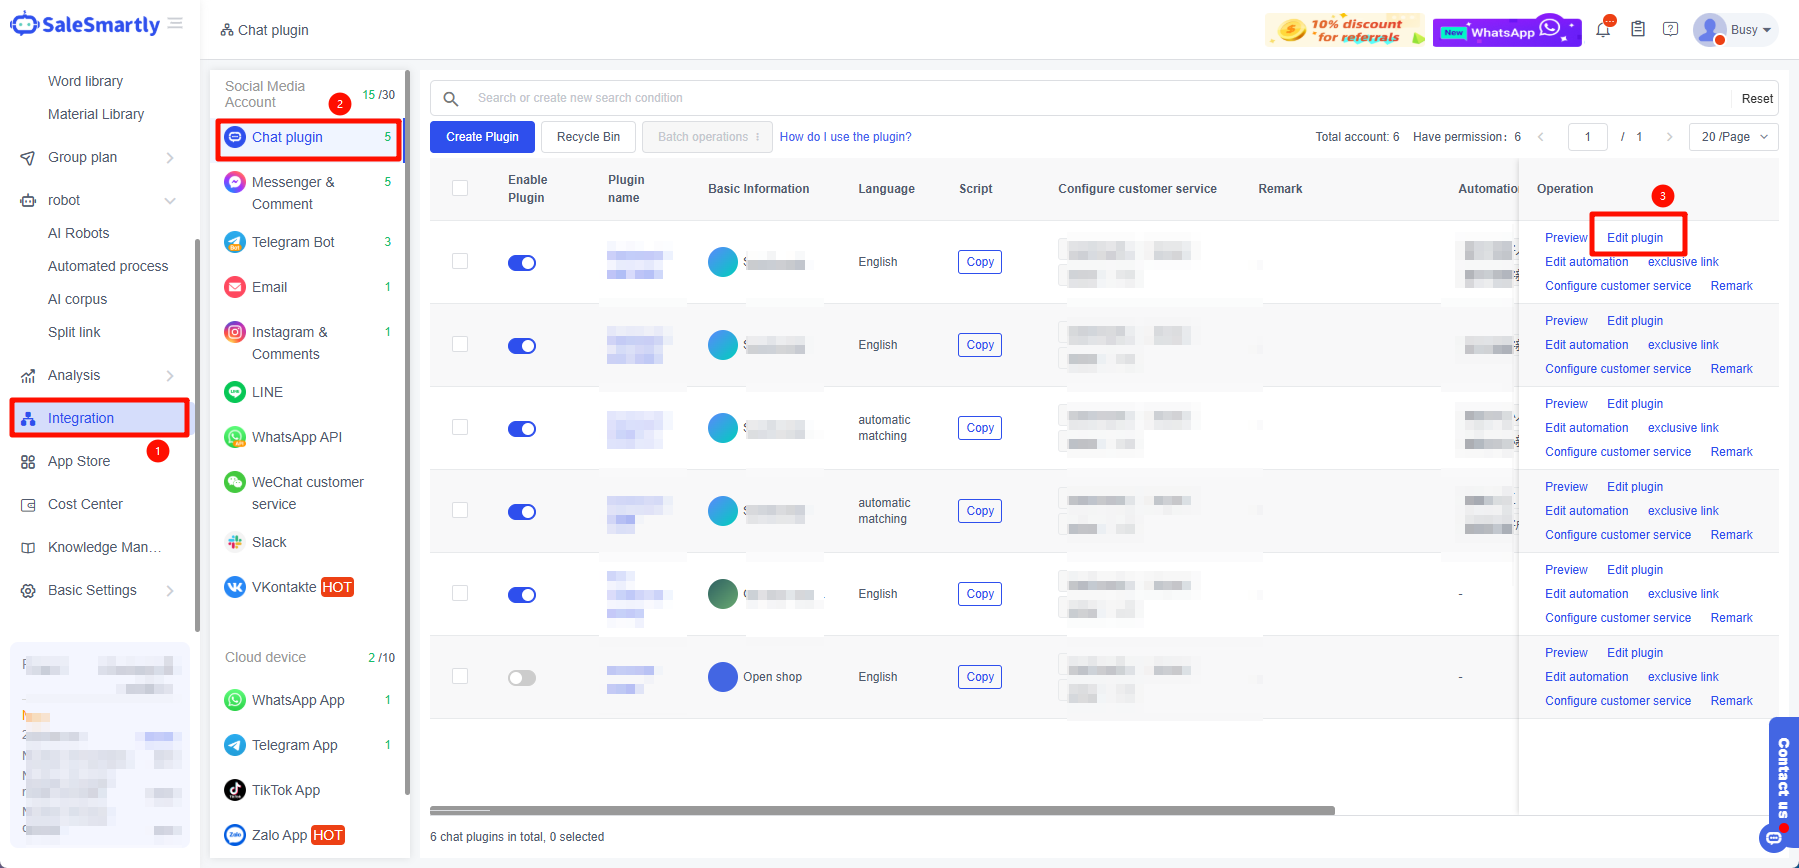
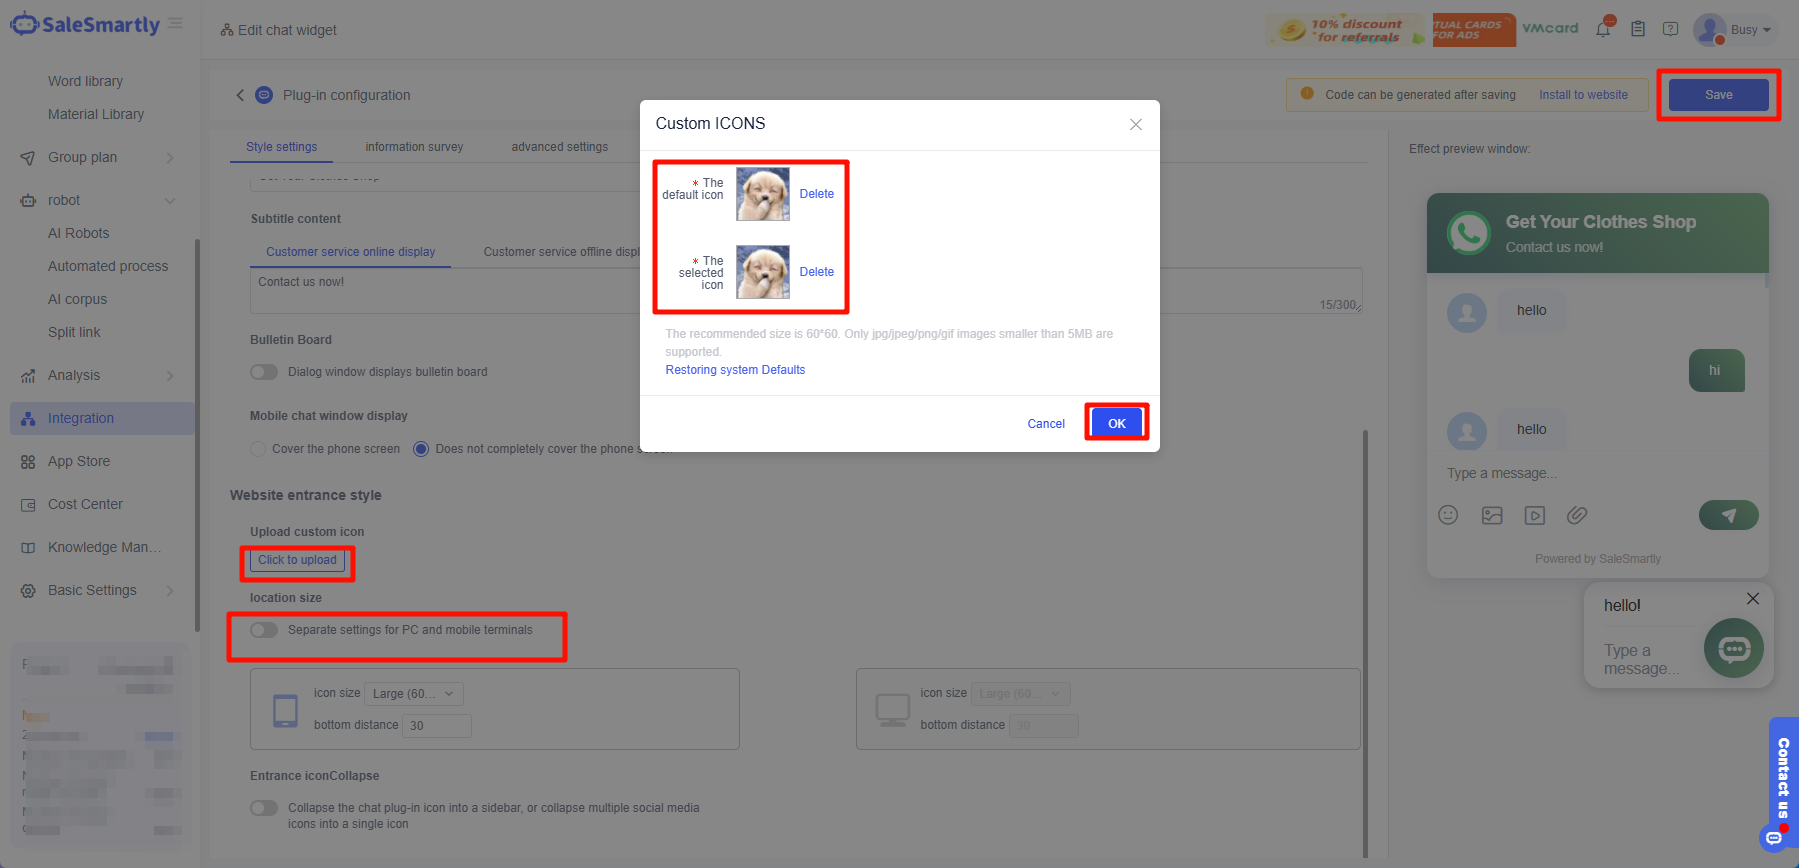
3. Modify the Chat Plug-In Entry Style Avatar
The uploaded image cannot be larger than 5 MB. The recommended image size is 60*60. Only JPG/JPEG/PNG/GIF formats are supported.
3.1. Enter Integration - Chat Plugin - Edit Plugin.
| Note The entry icon needs to be closed to be collapsed, otherwise, it will not take effect! |
|---|
3.2. Click to view the front-end effect.
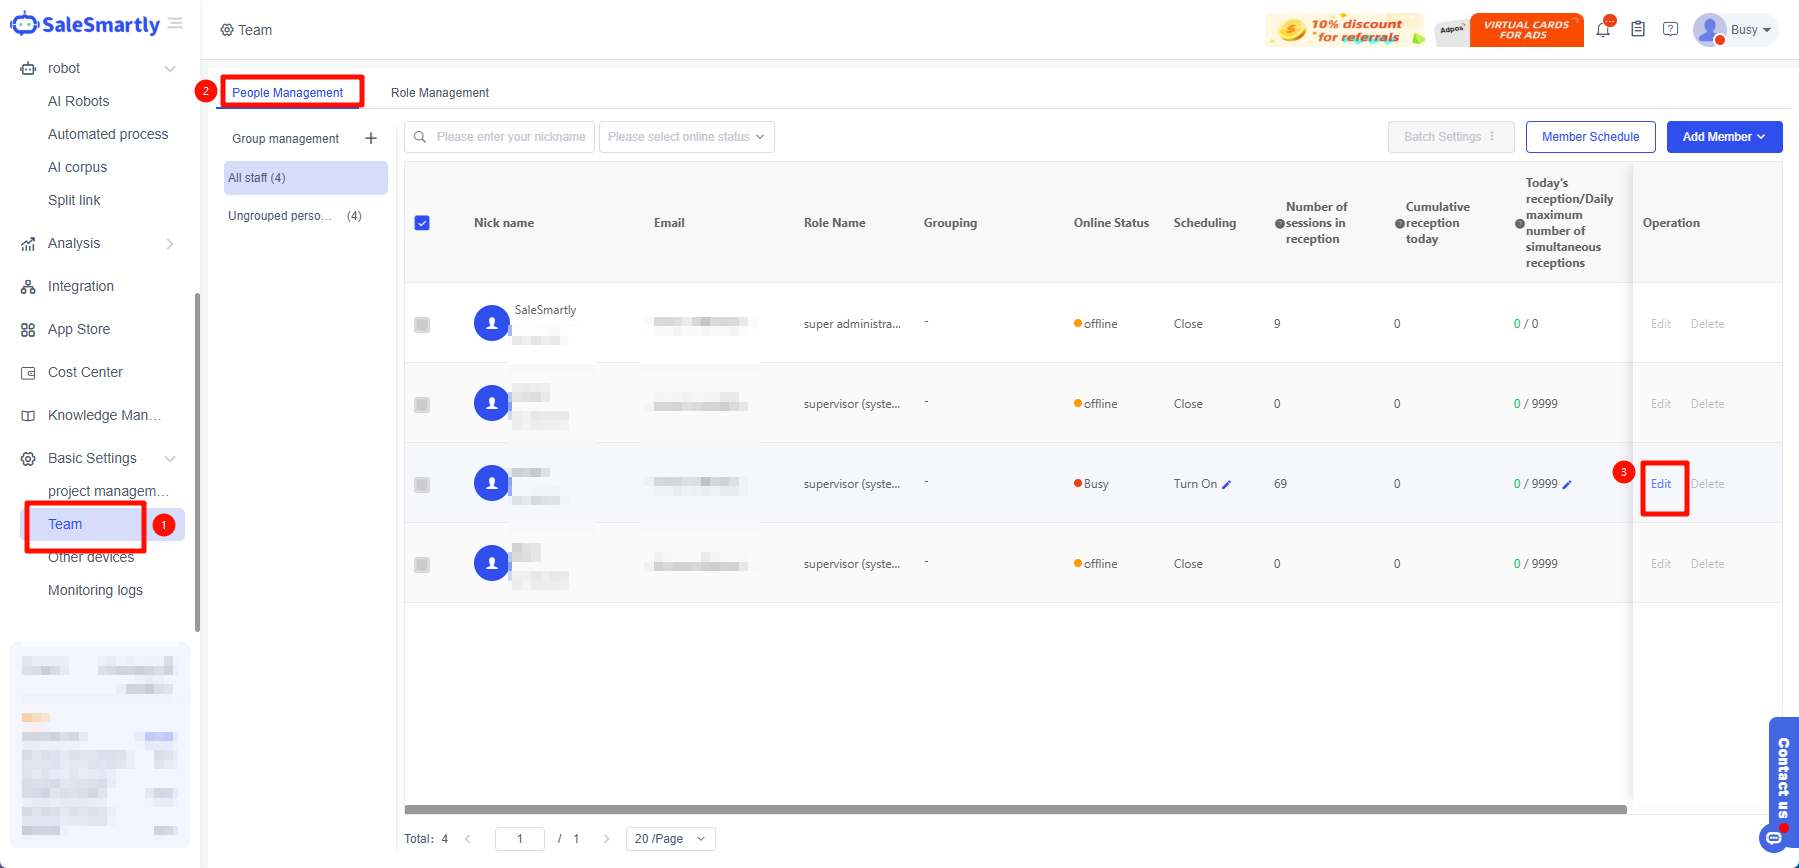
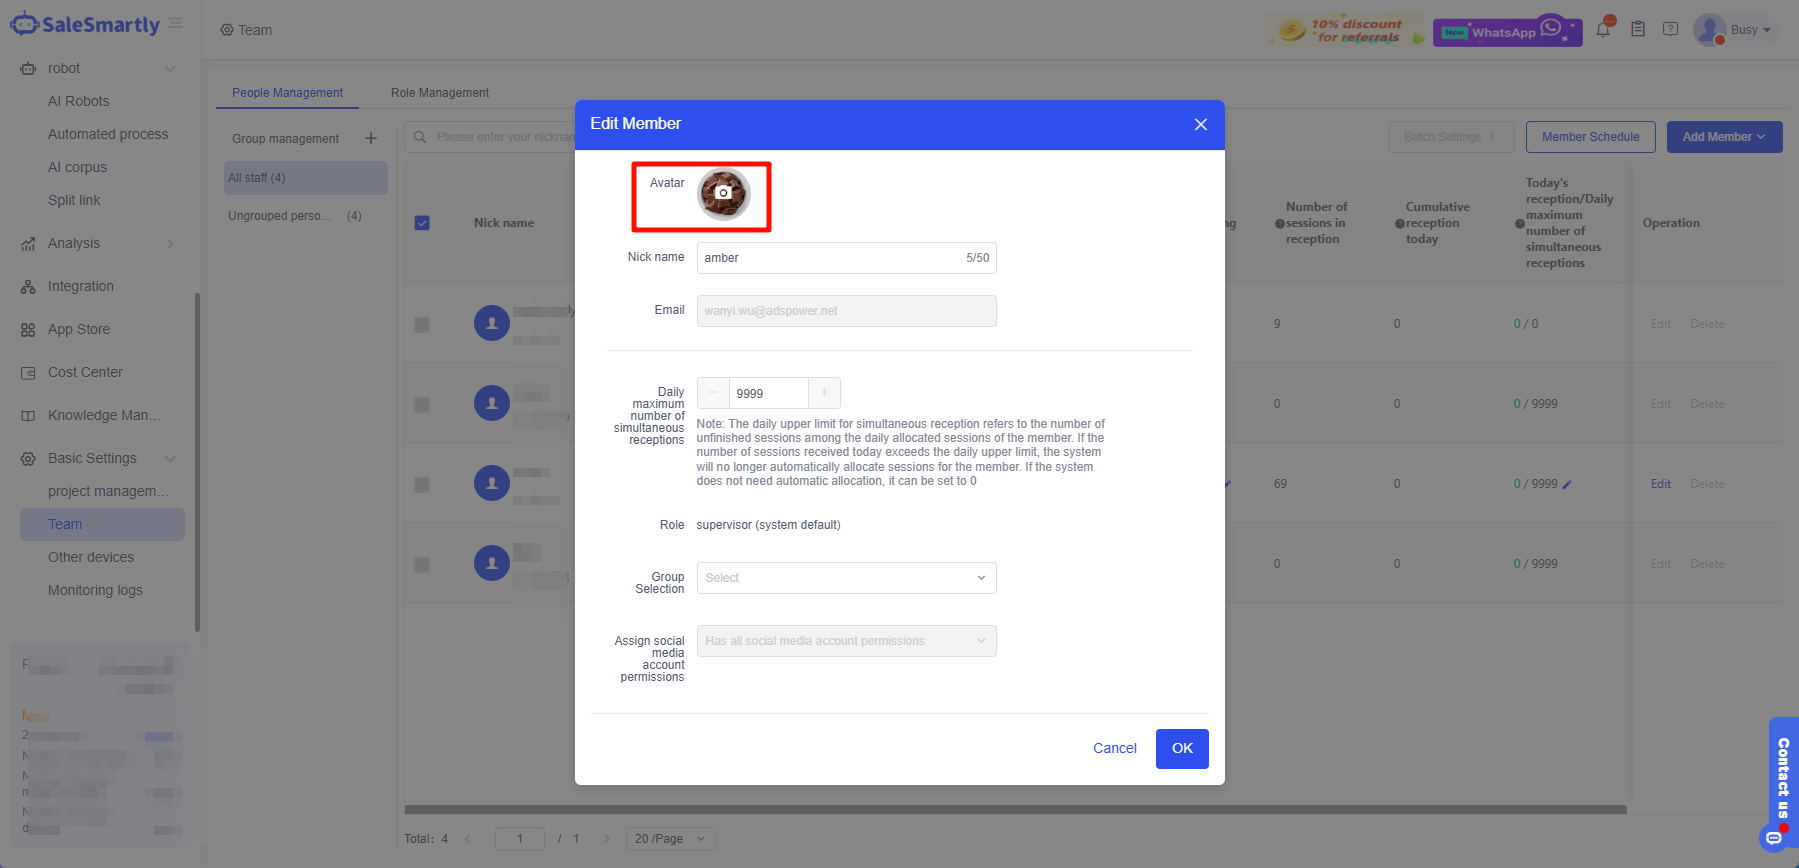
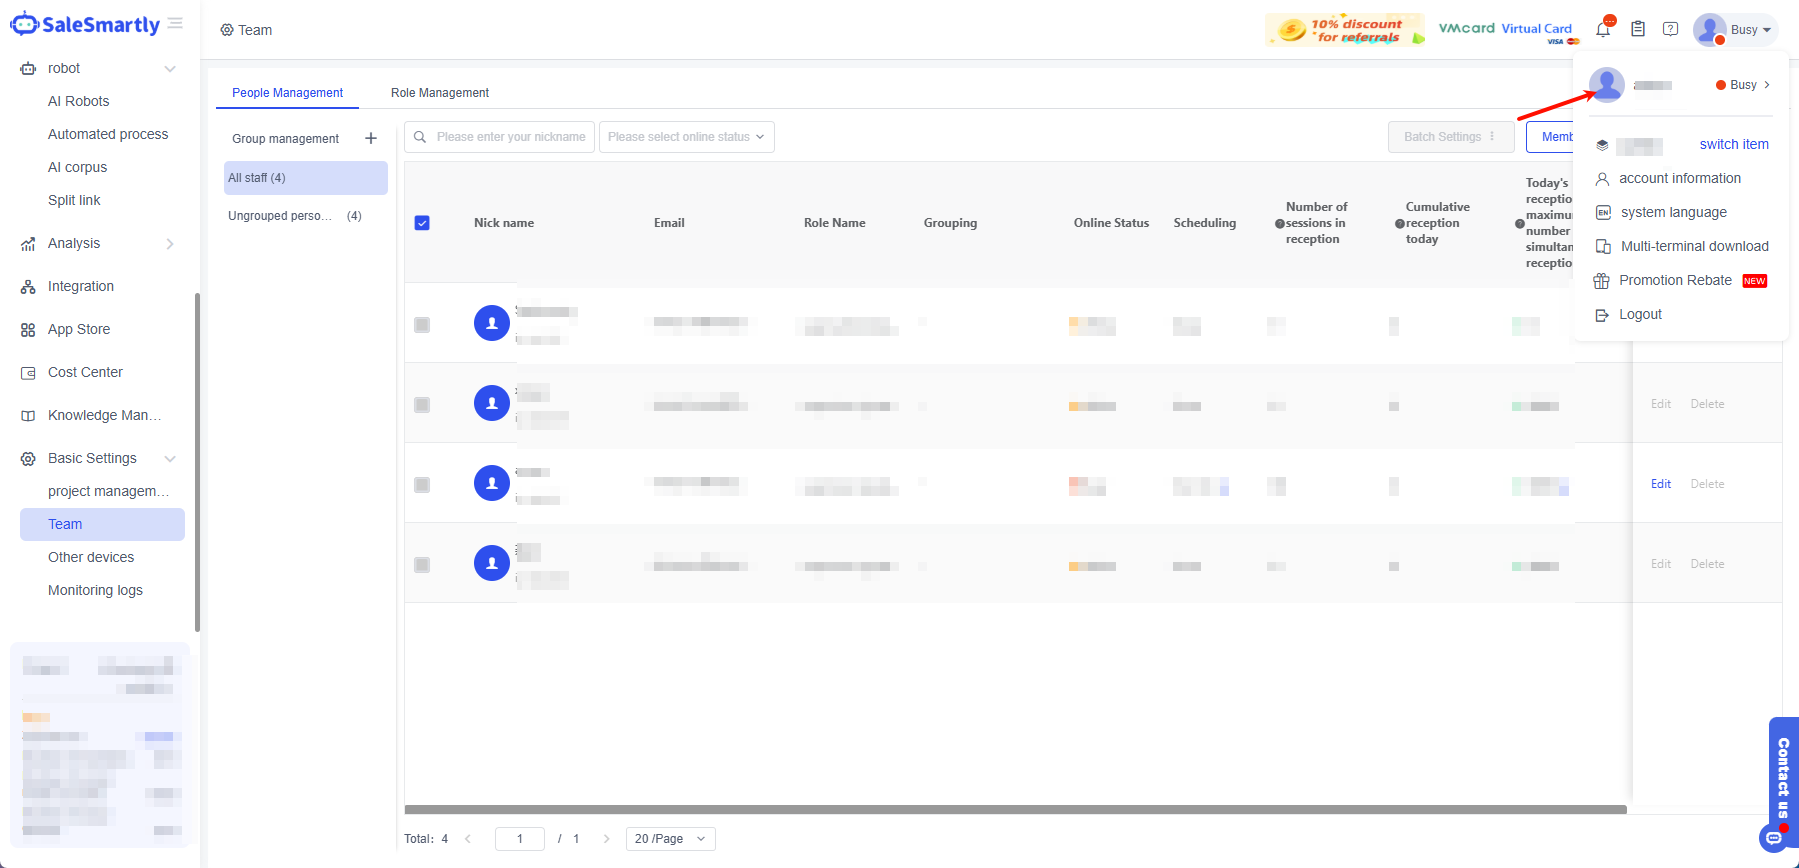
4. Modify the Customer Service Member's Profile Picture
4.1. Enter Basic Settings - Team - People Management - click Edit.
4.2. Click Upload Avatar to confirm.
4.3. Effect preview.
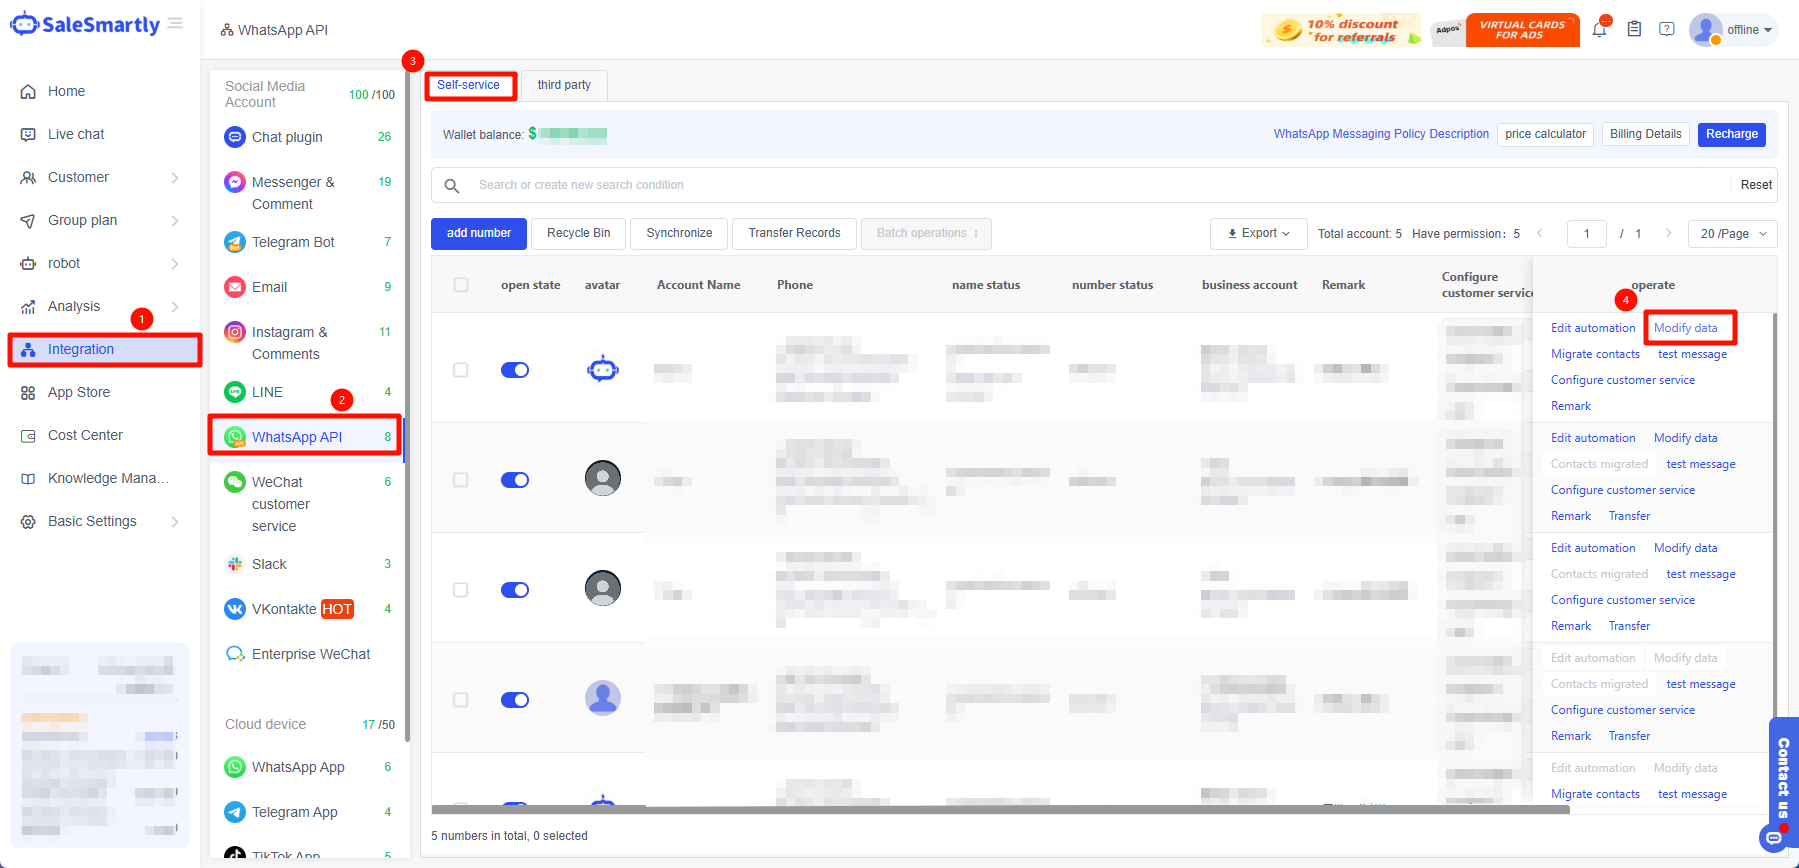
5. Modify the Platform WhatsApp API Number Avatar
5.1. Go to Integration - WhatsApp API - Modify Data.
Please do not upload infringing images or duplicate images with other accounts, otherwise there will be a risk of account closure!